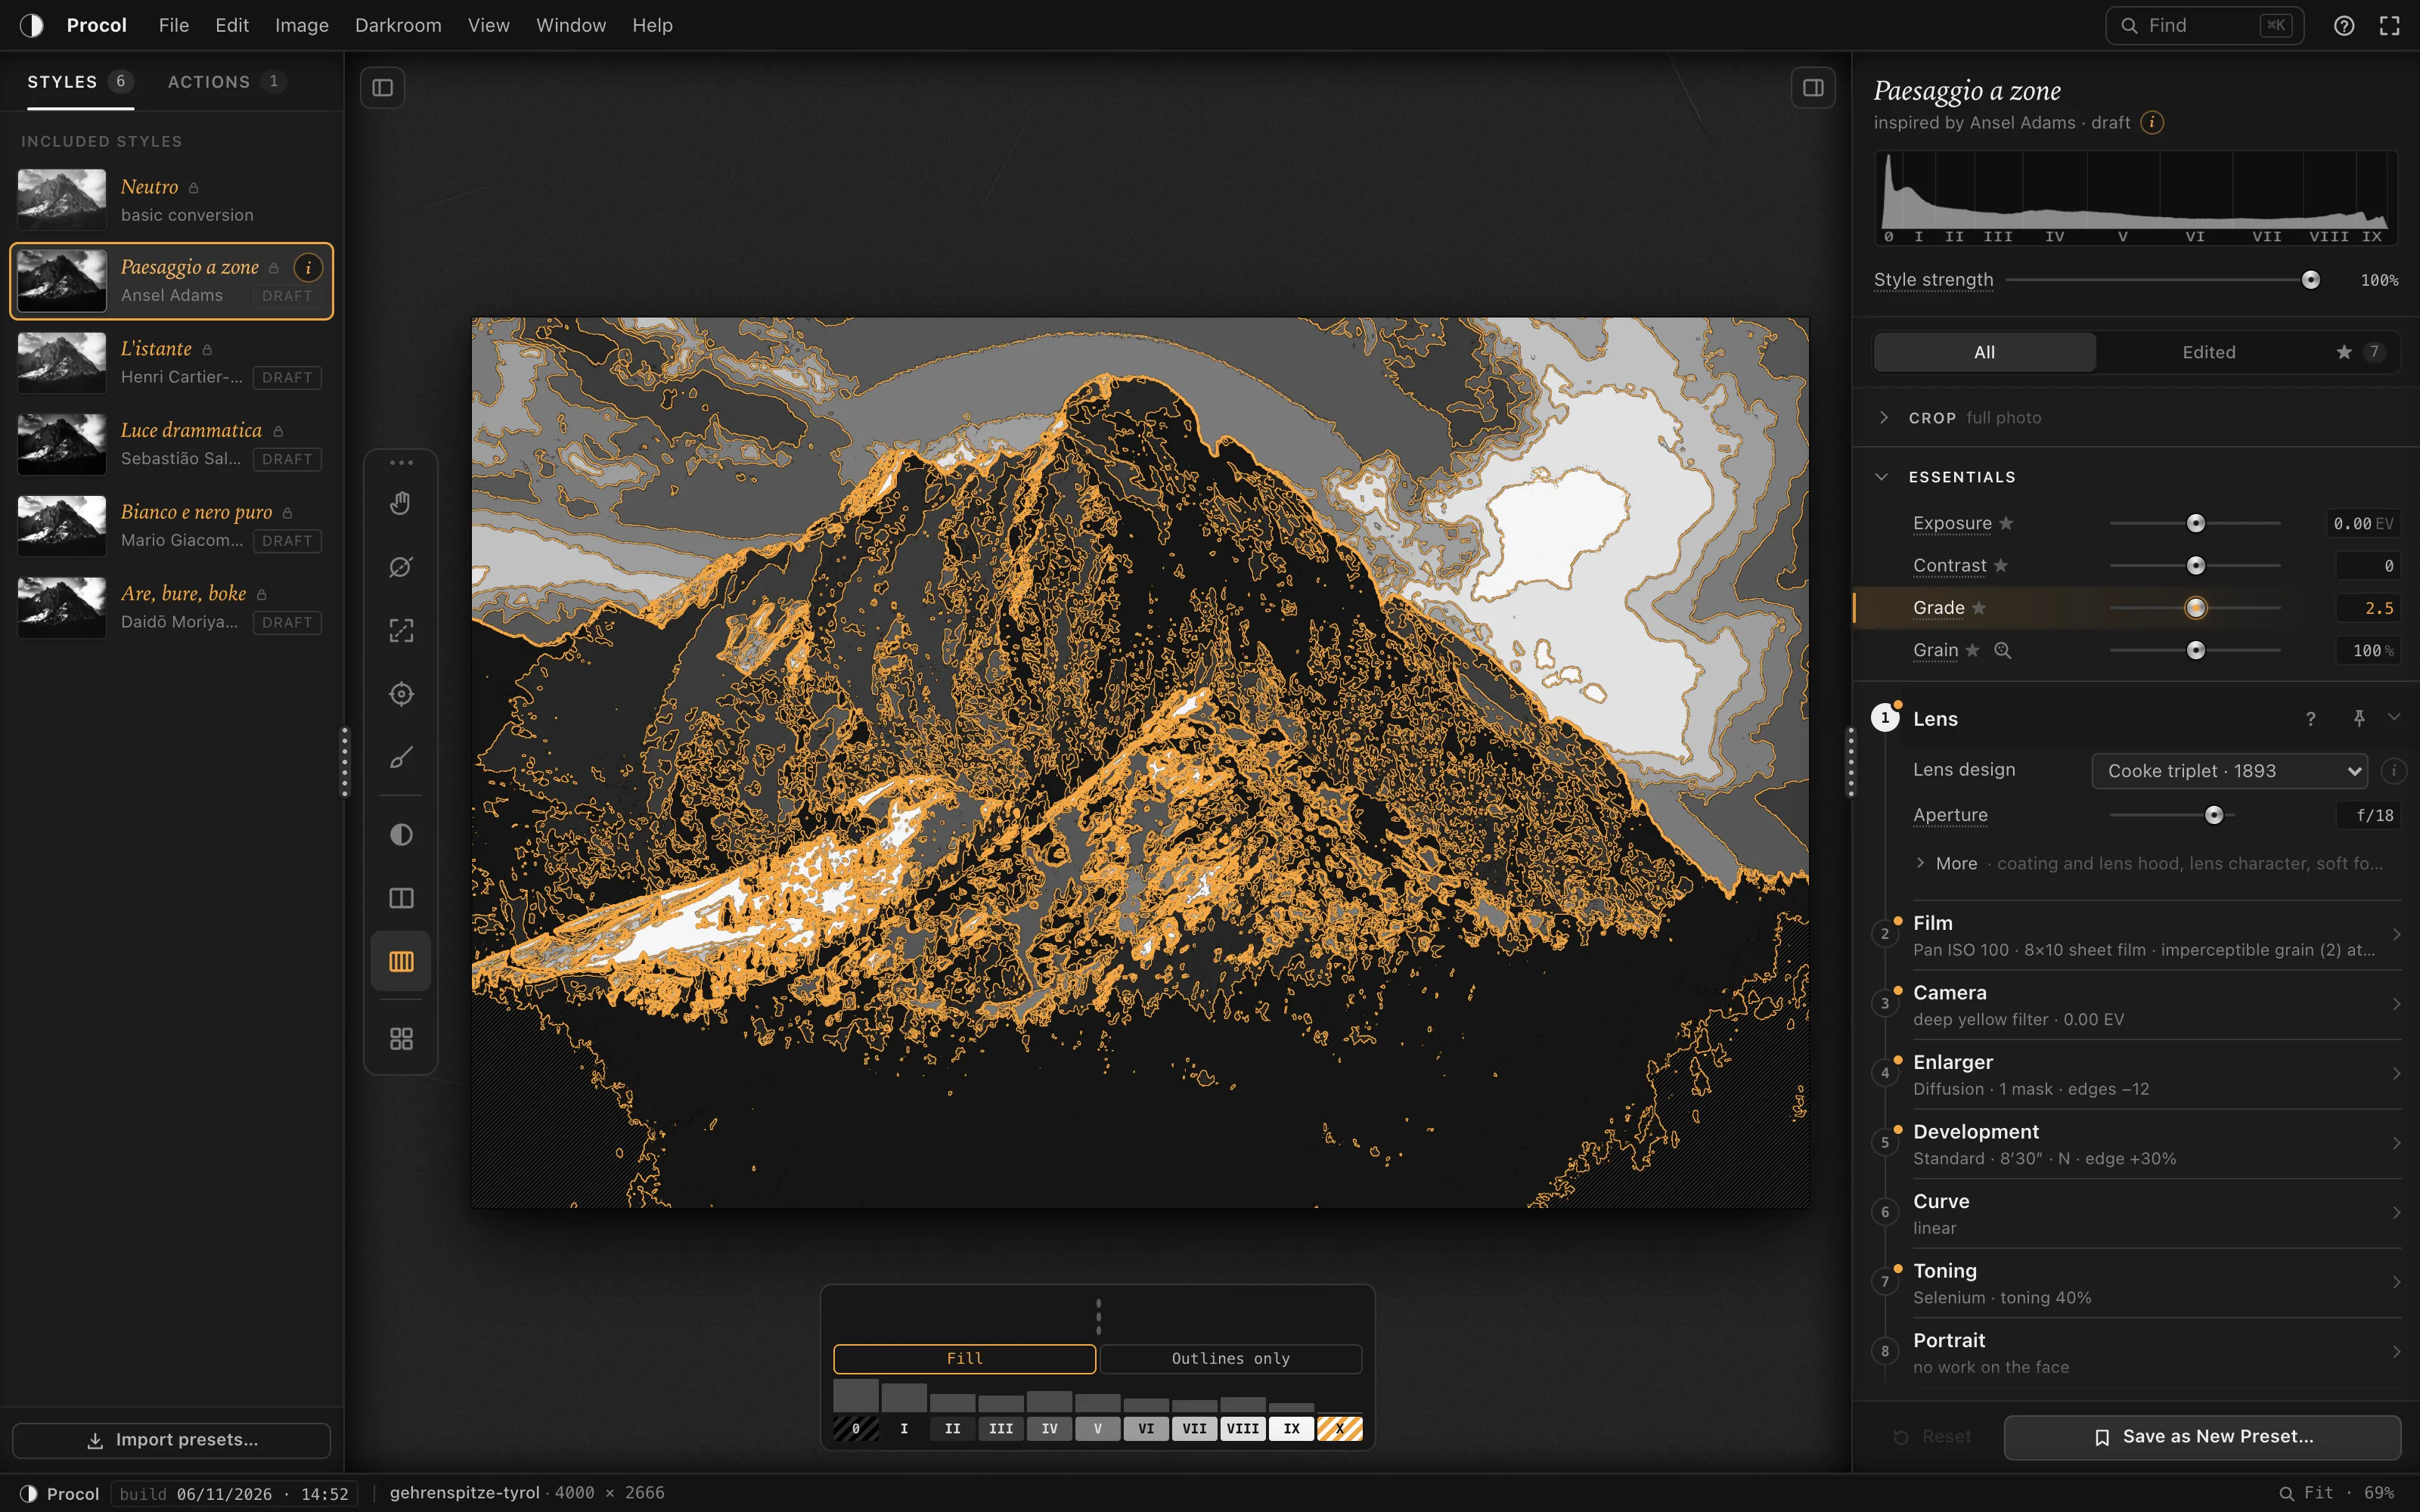
Spot meter and Zone System
Tap the shadow that must hold detail, then the brightest highlight. Procol tells you which zones they fall on and suggests exposure and development, N−1 or N+1, the way you’d pencil it on the film holder.
A darkroom for black and white
Procol takes your photographs into black and white along the same road the light travels: lens, film, developer, enlarger. Not a filter, but a darkroom where every grey is chosen by hand.
It opens in your browser and works without a connection too. It develops your camera’s RAW files as well, and your photos never leave your computer.
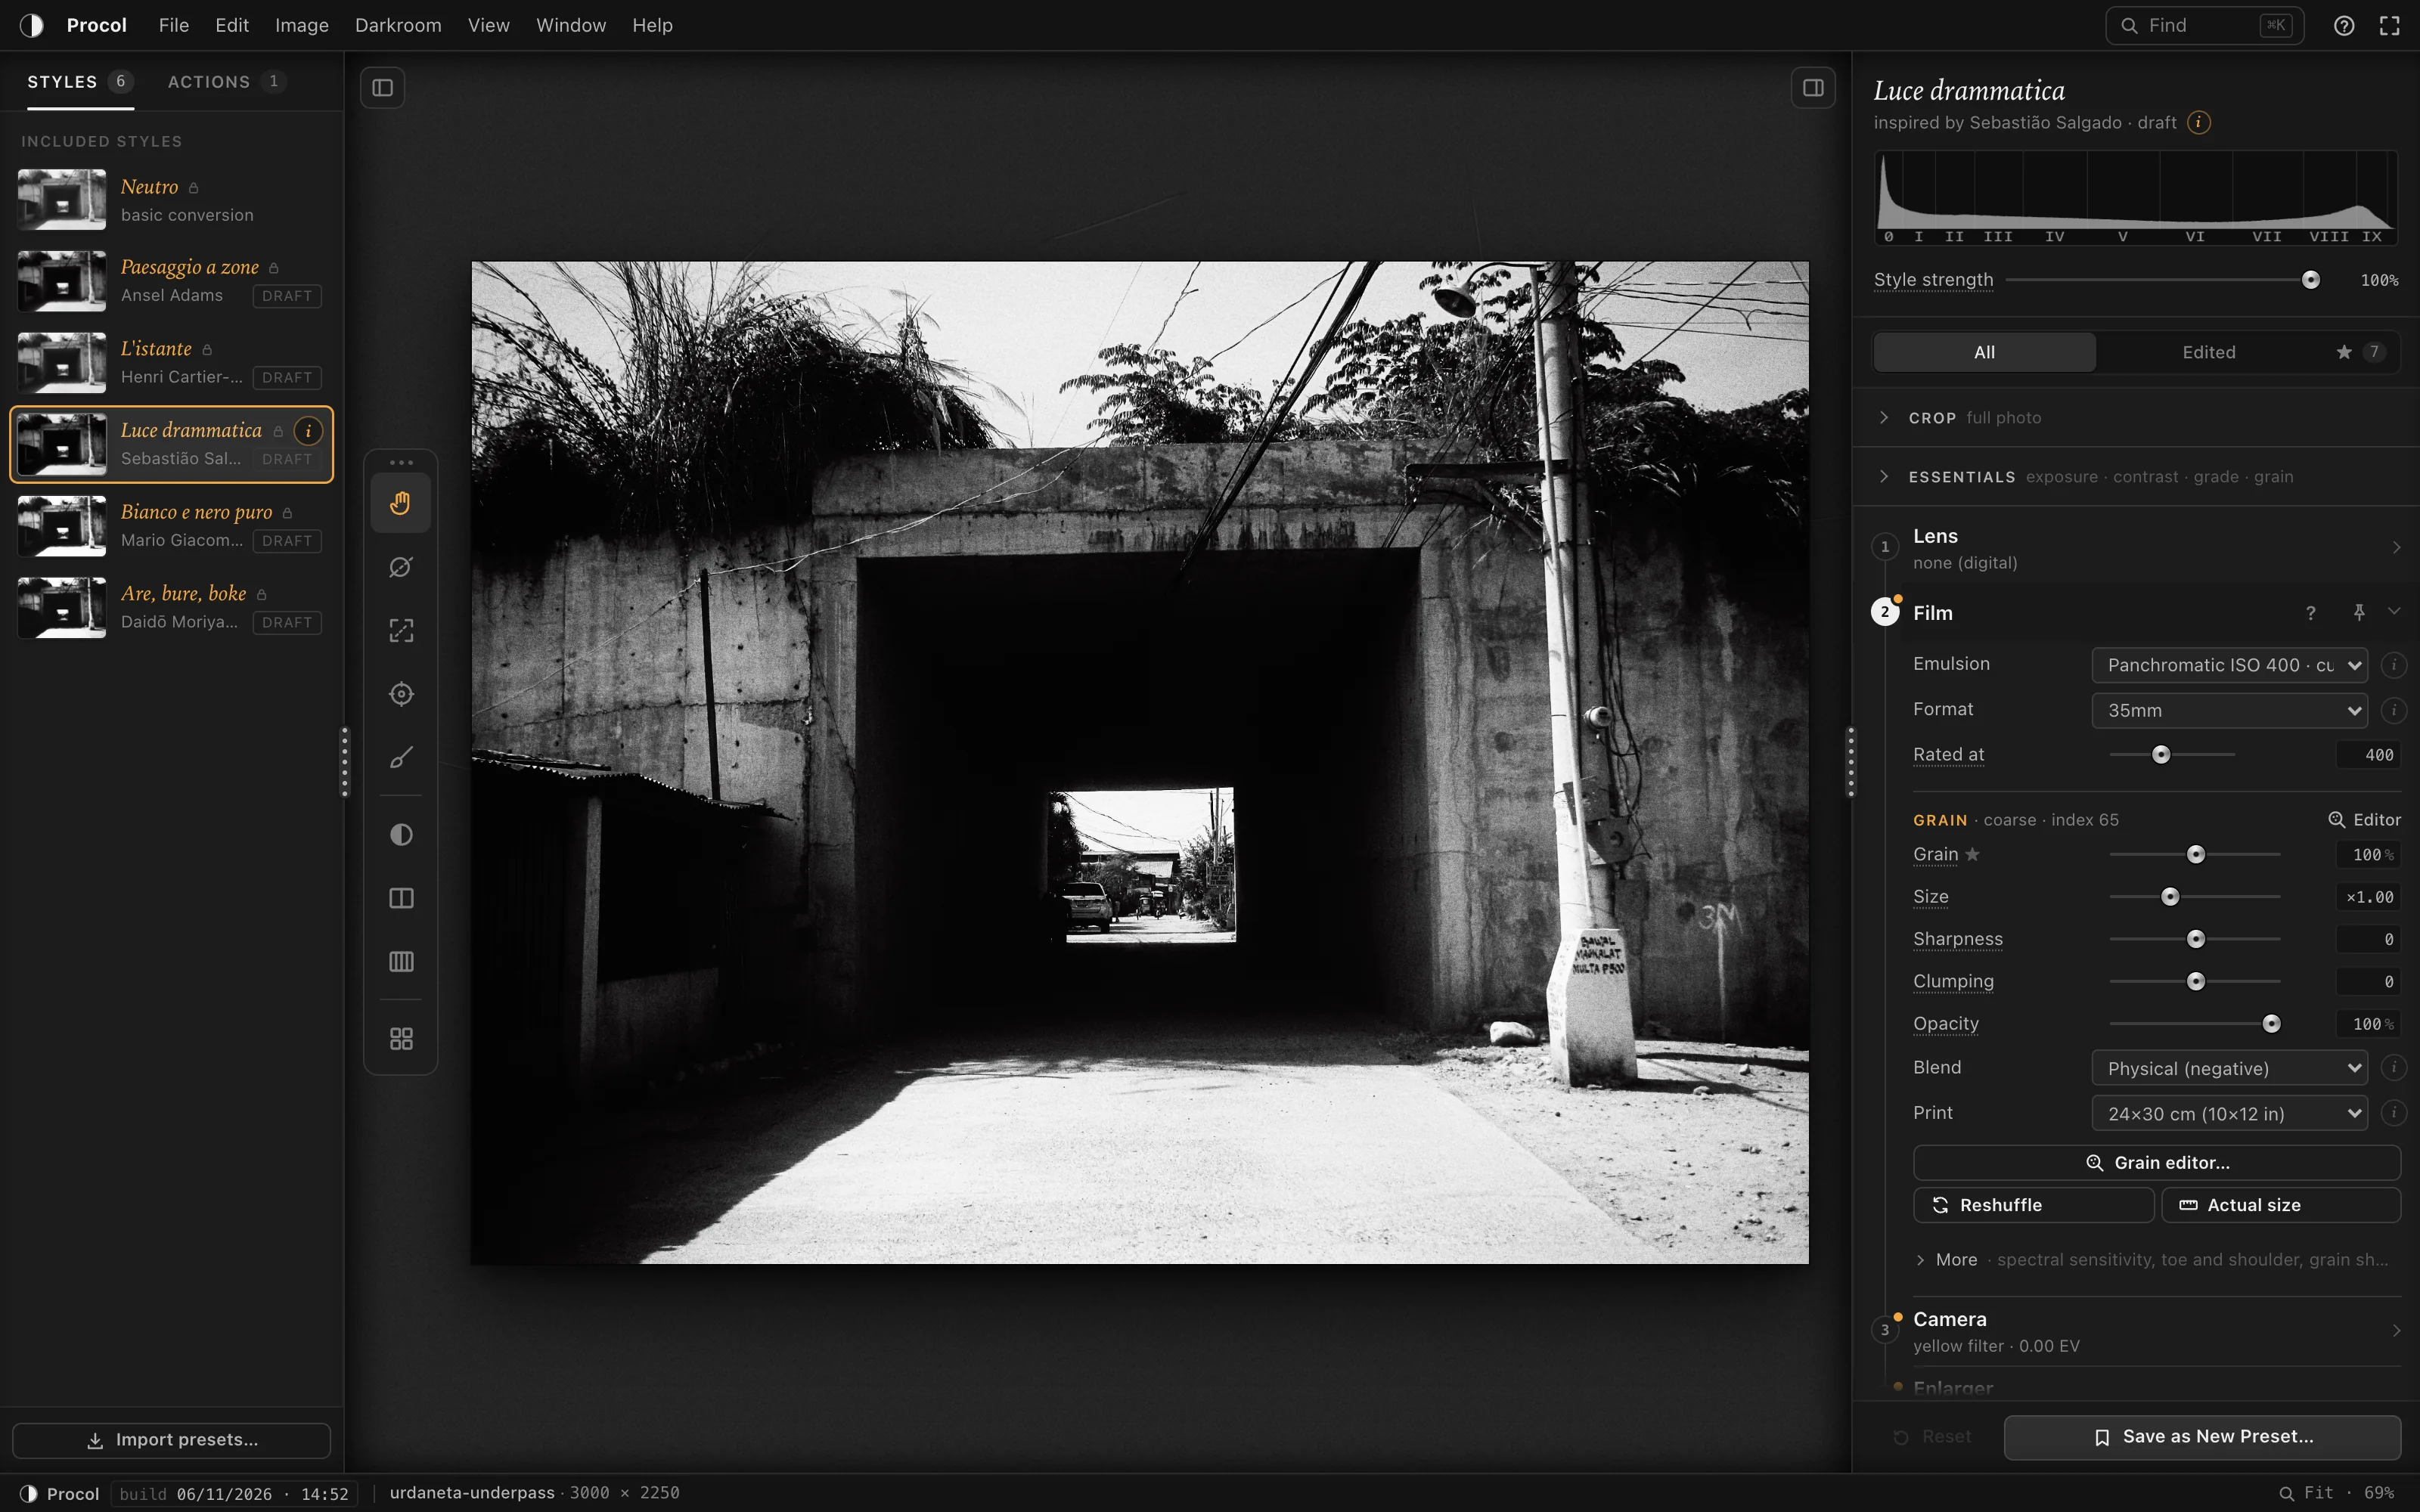
Black and white isn’t a photograph with the colour missing.
It’s a photograph in which every grey was chosen.
In the developer tray
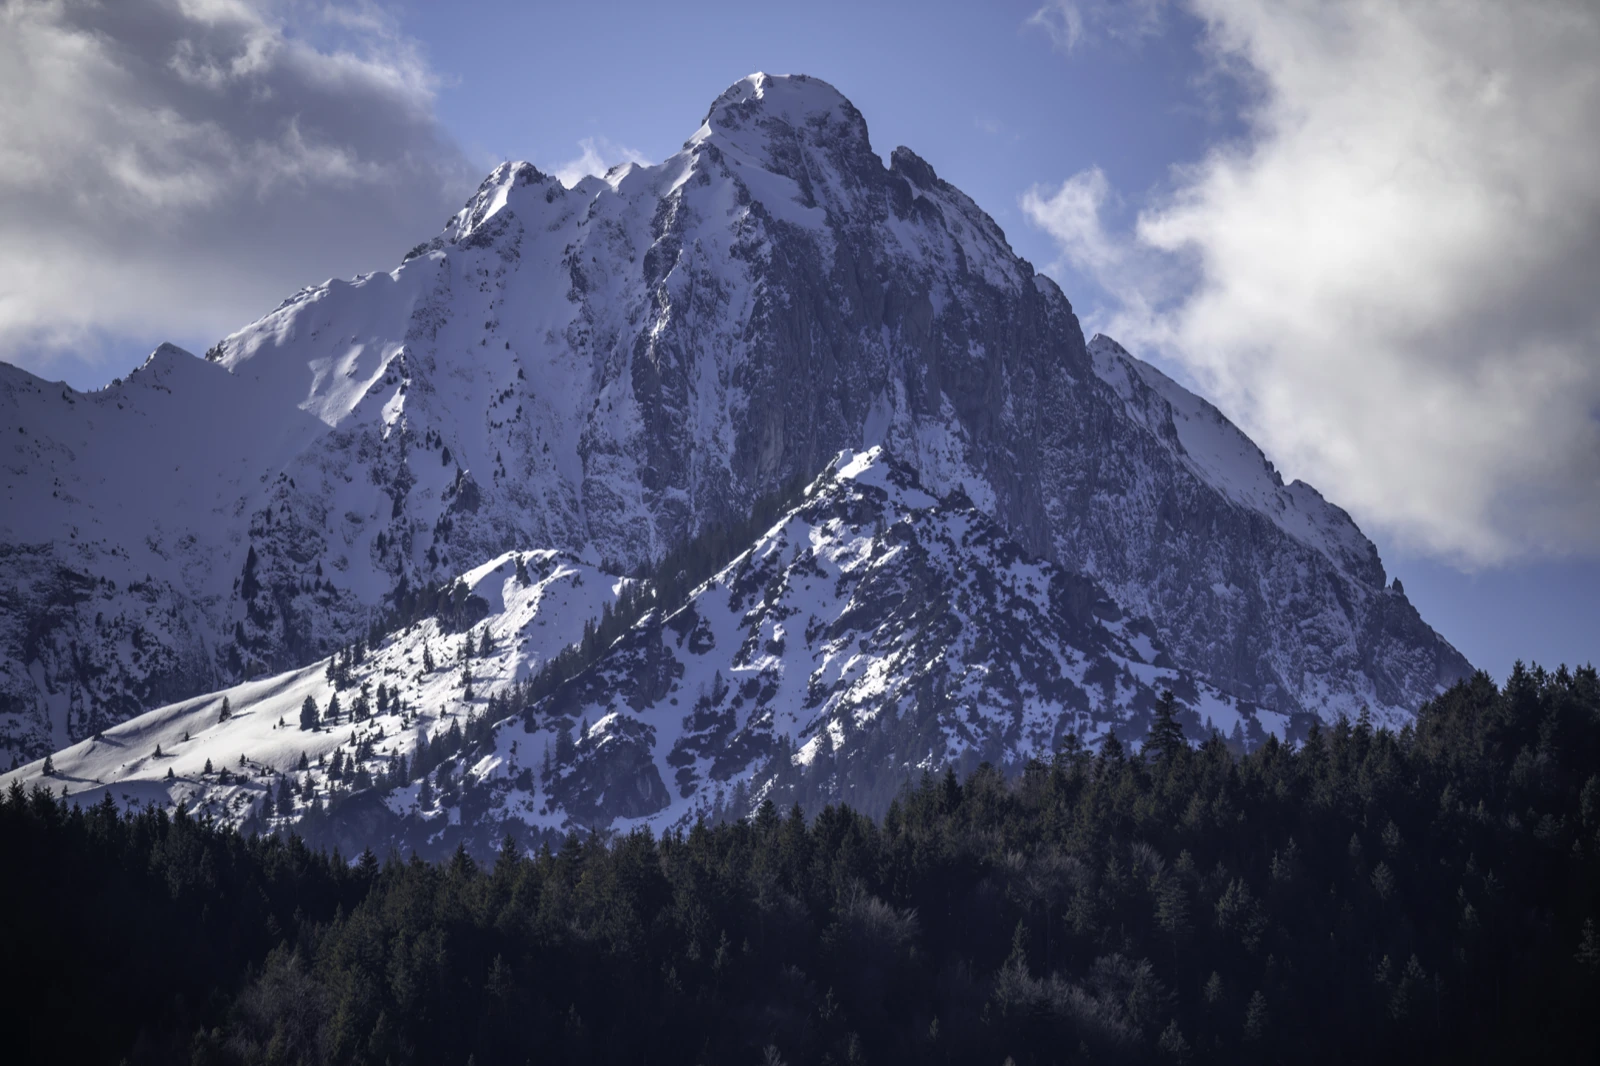
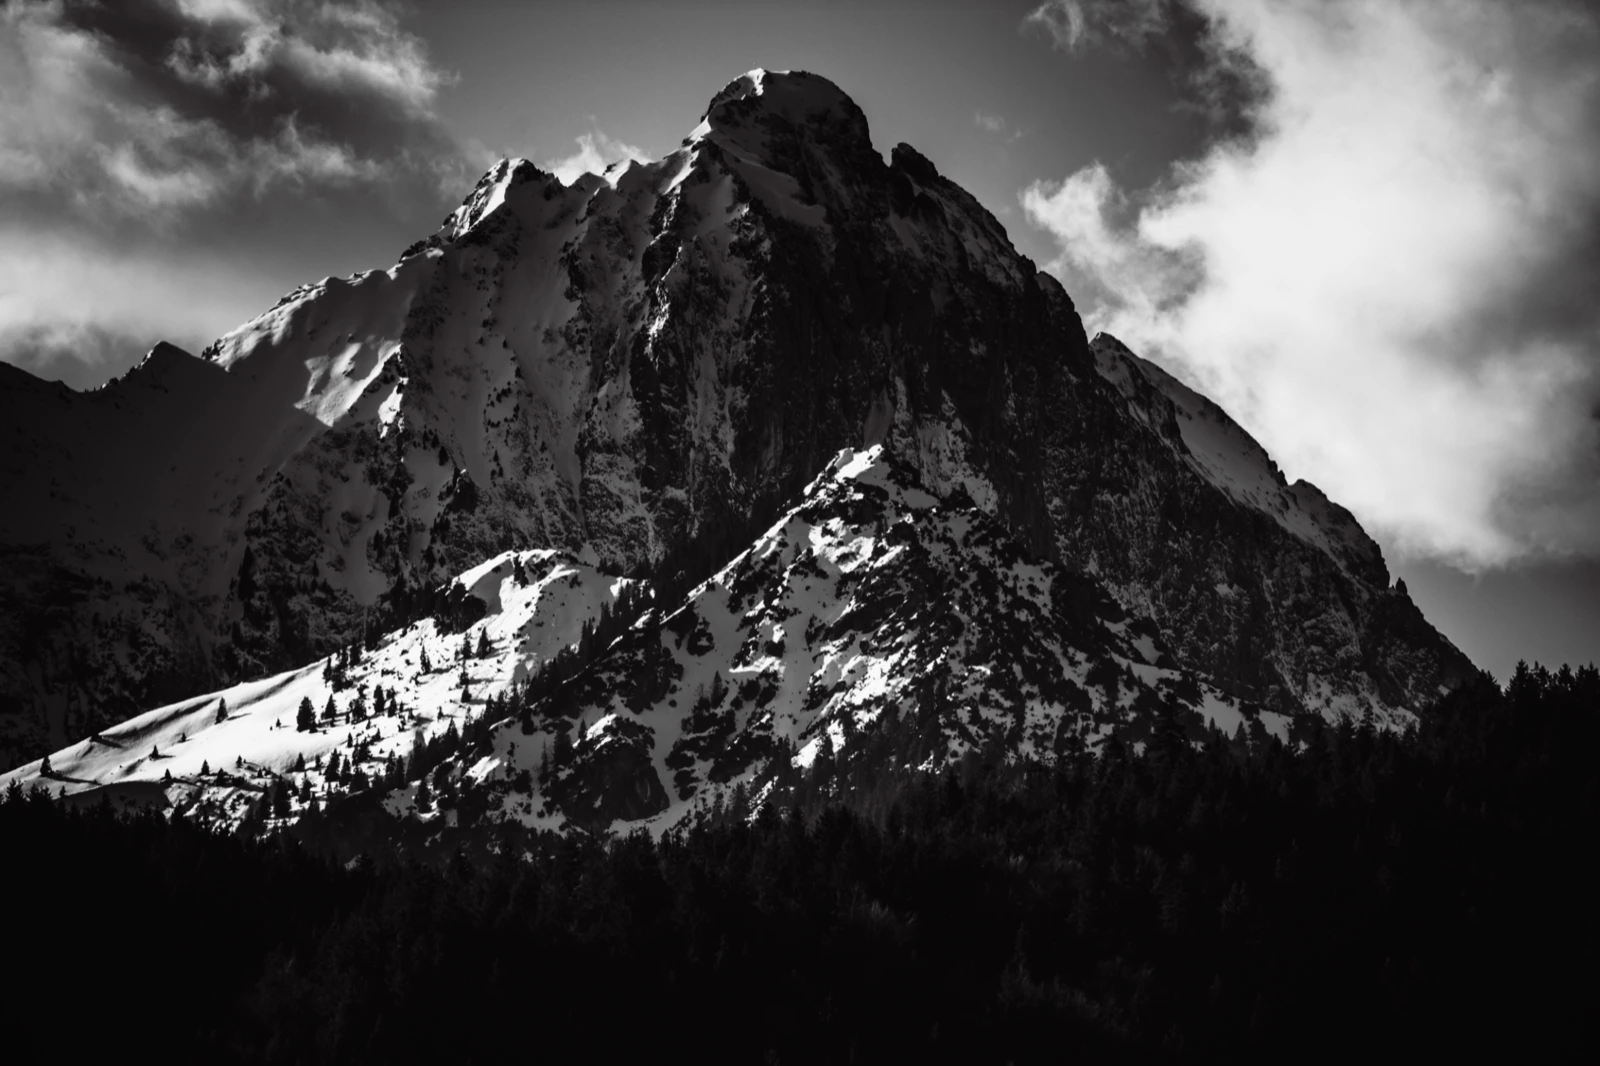
On the left, the photo as it came out of the camera. On the right, the print, after film, development and enlarger. Drag the line and watch the image come up.
Six recipes, six ways of seeing
From film to toner, each style is a complete recipe inspired by the way a great photographer printed. Not a copy of their work: a starting point for your own hand.
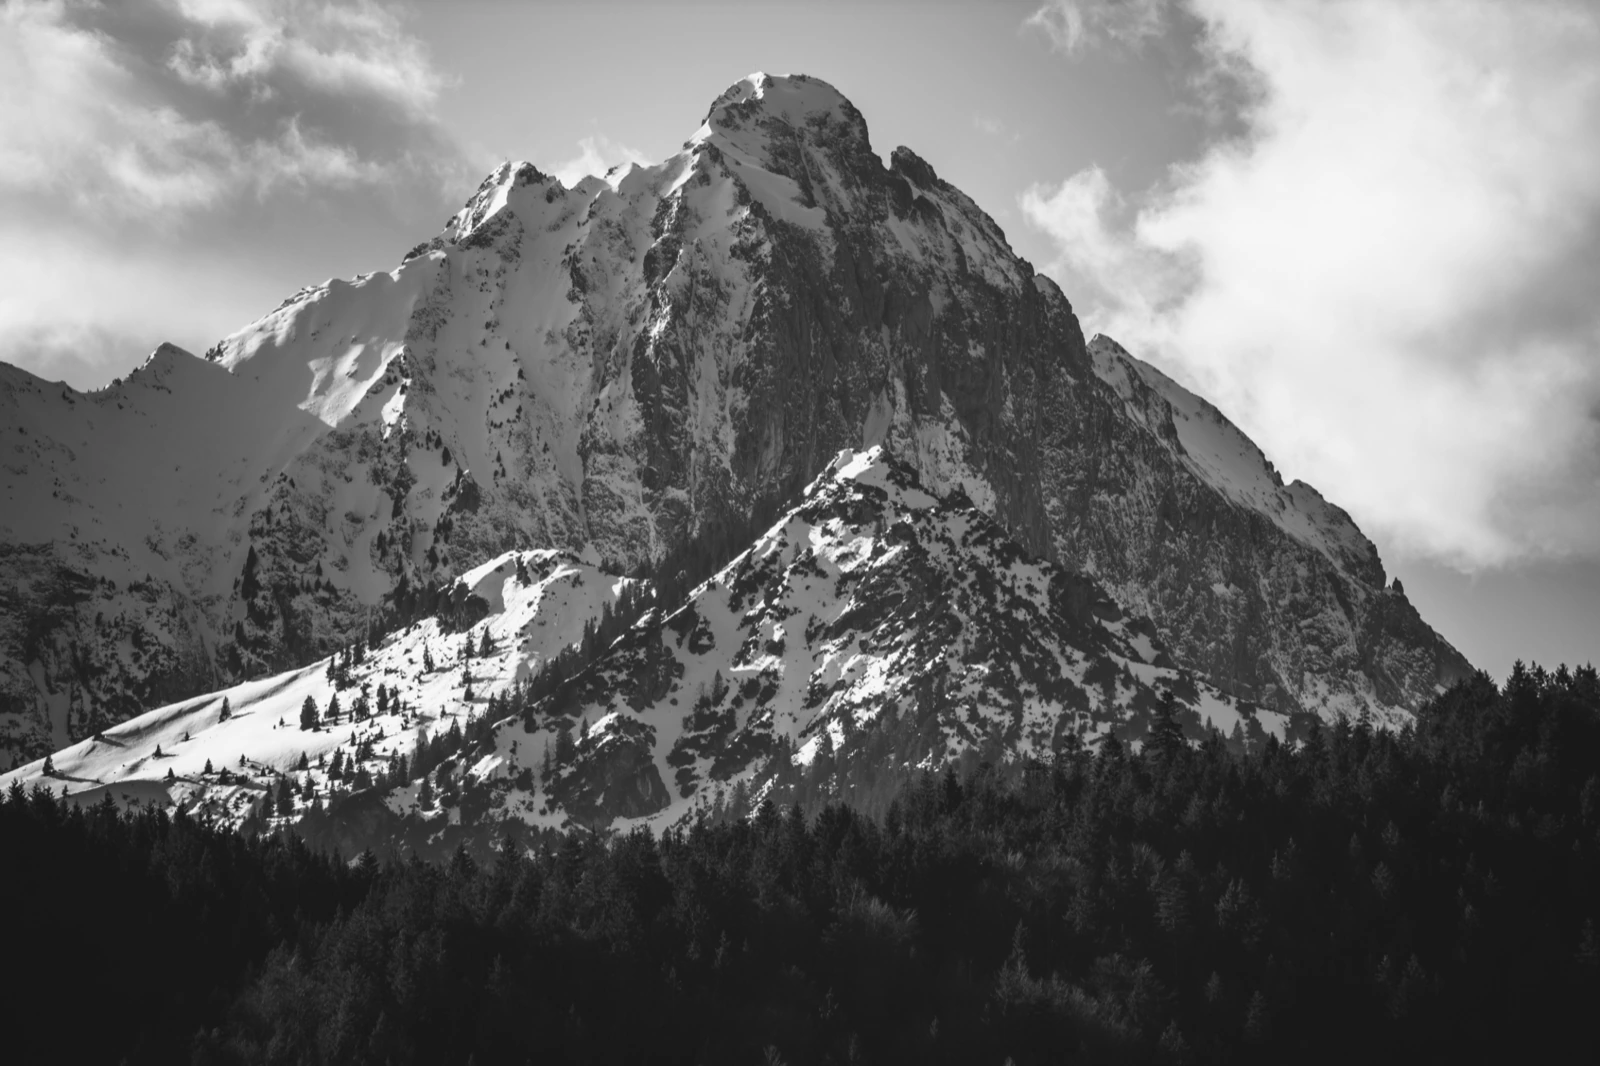
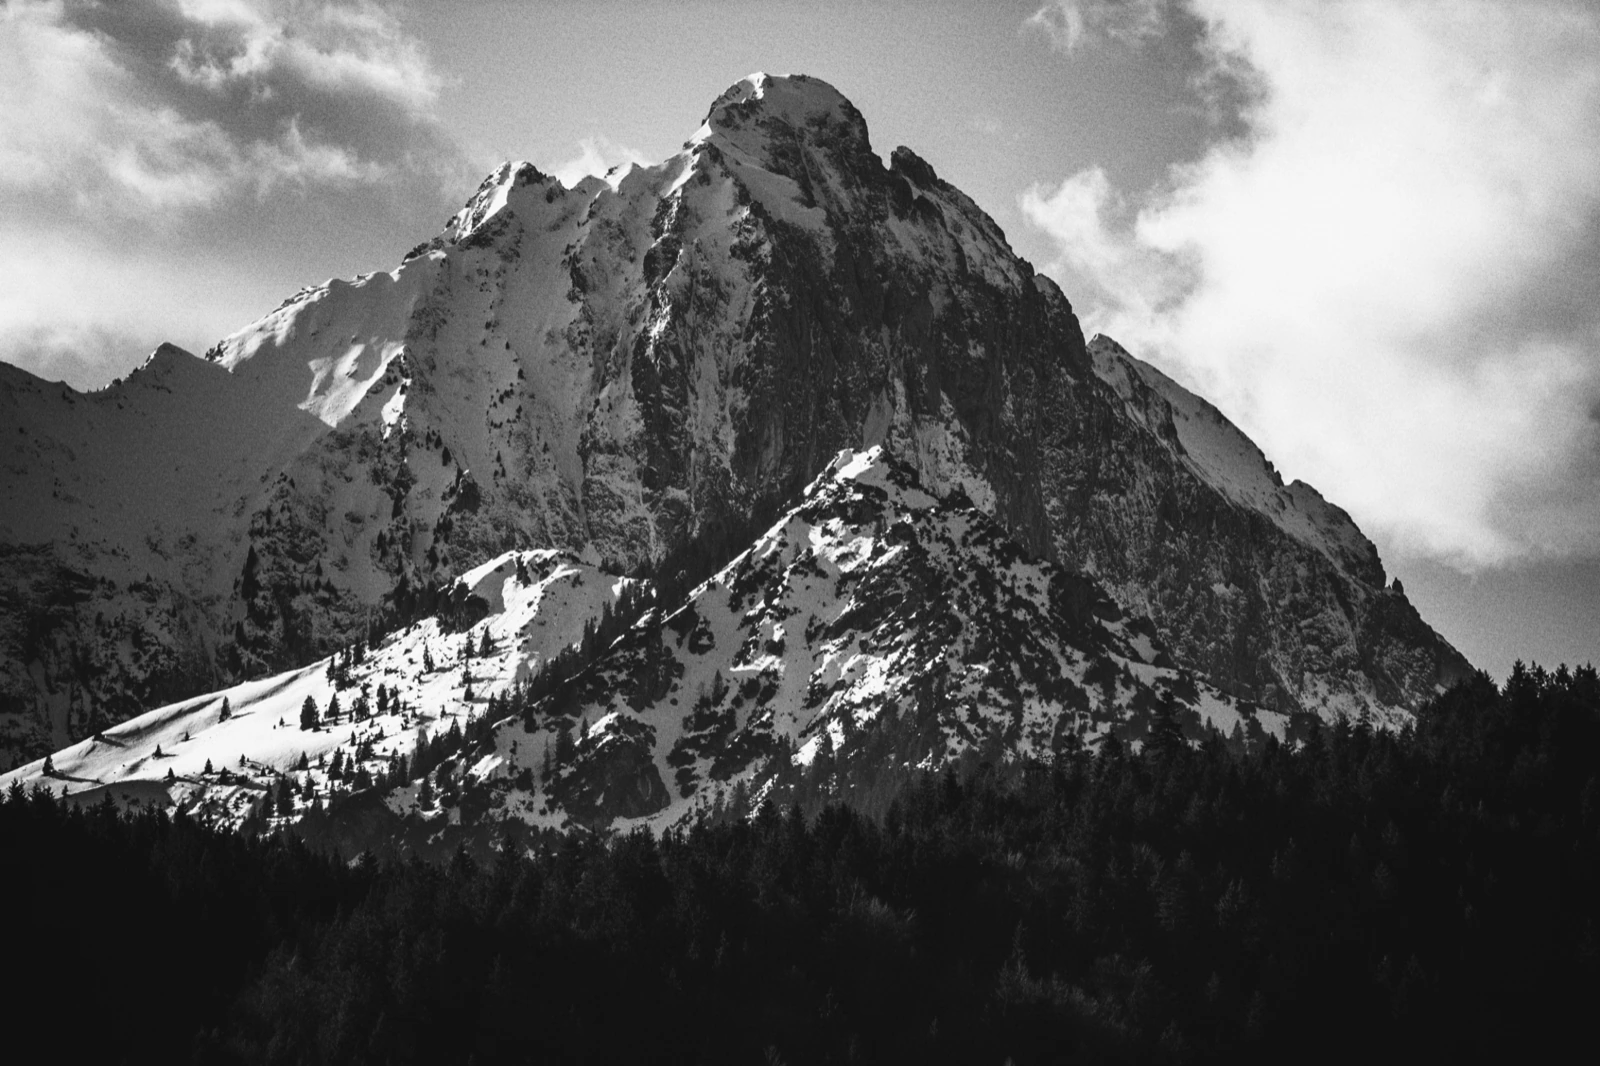
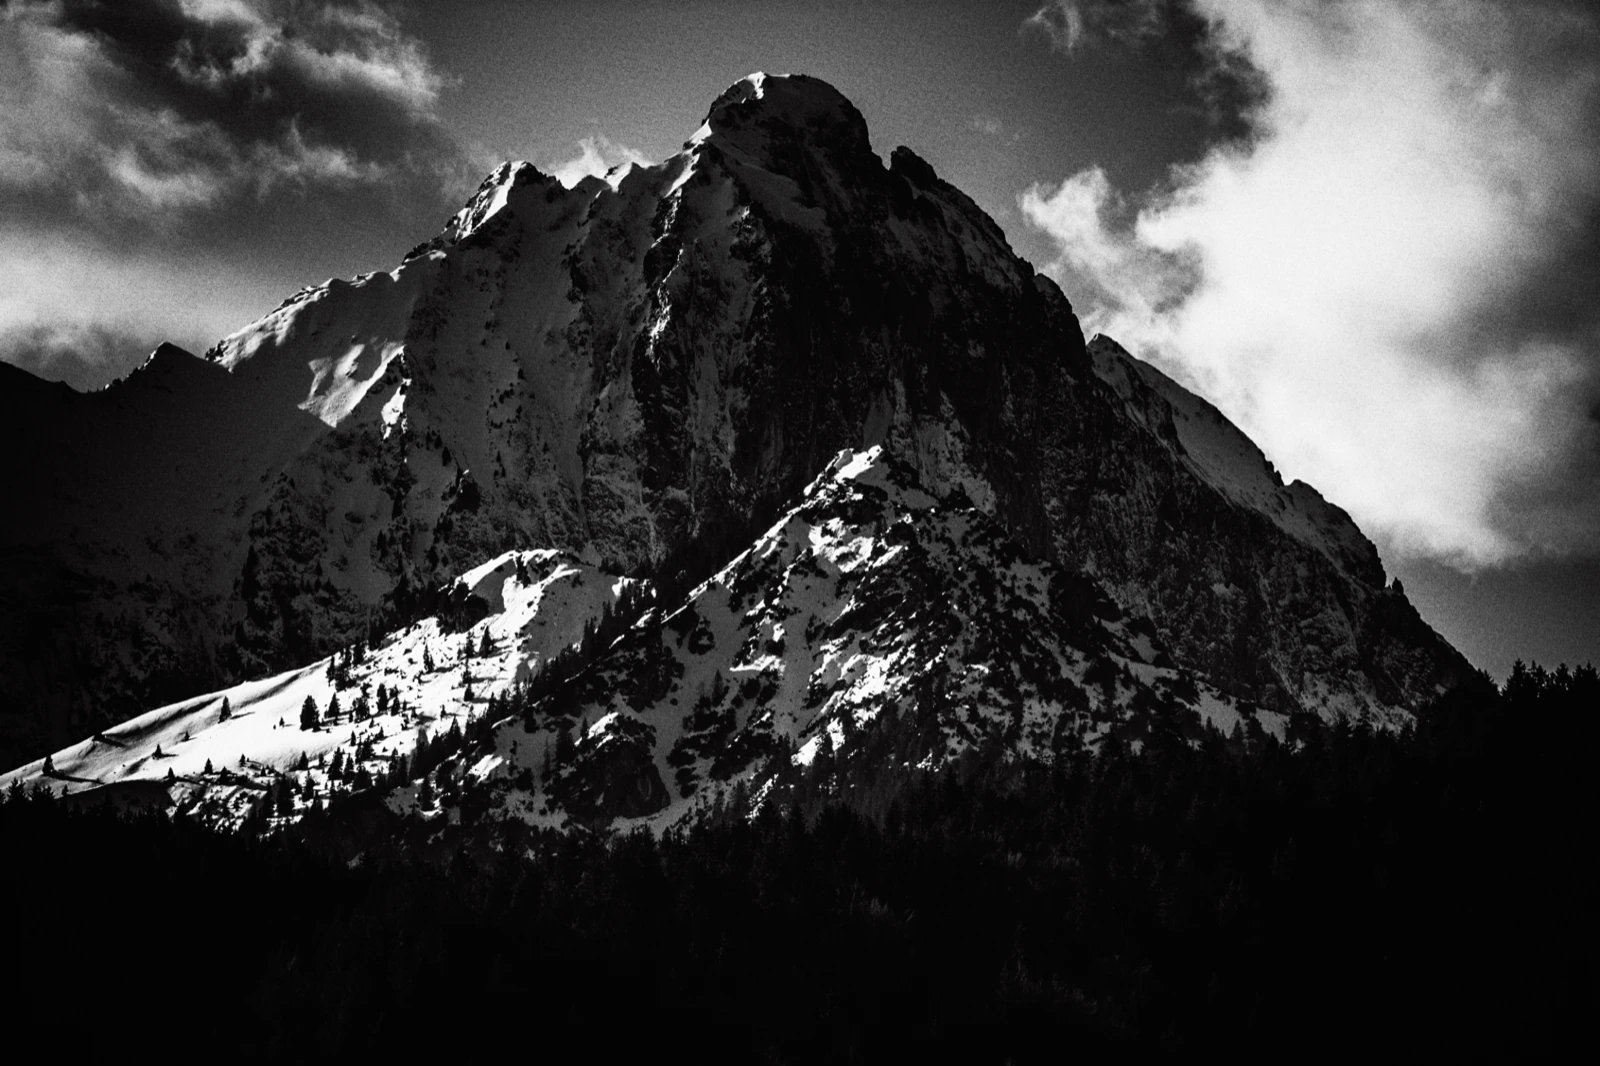
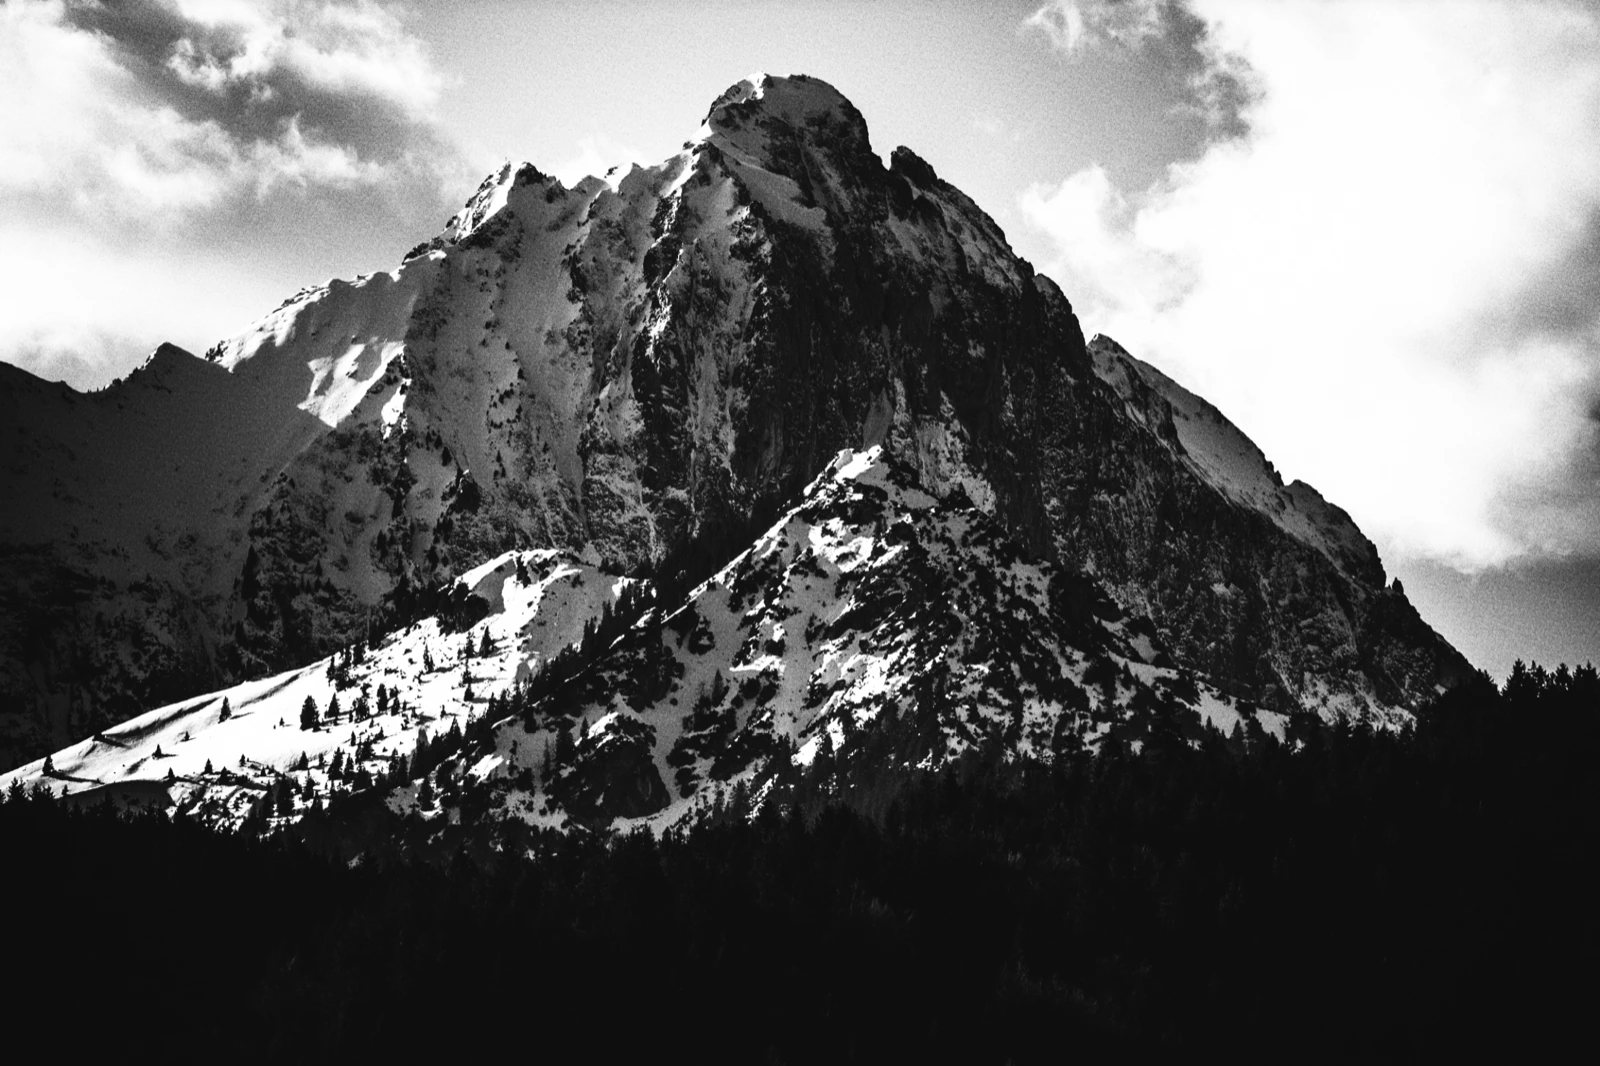
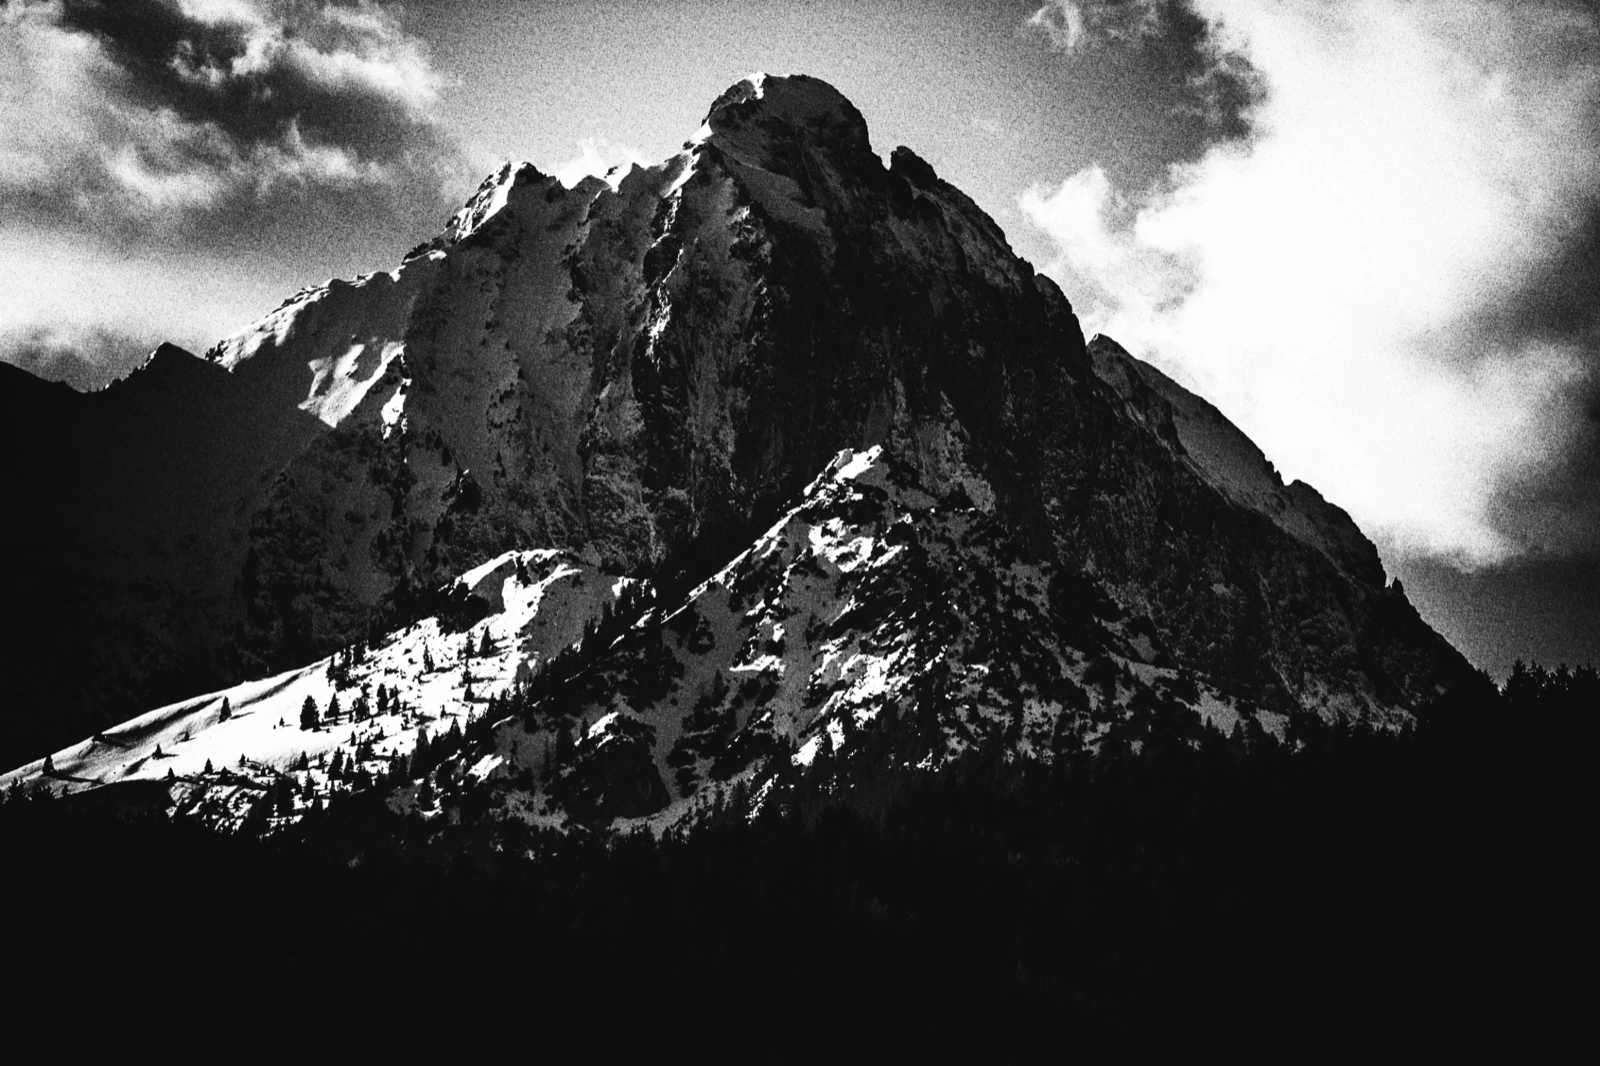
Inspired by Ansel Adams
Landscape by the Zone System: the shadow that matters on Zone III, the textured highlights on VII–VIII, and a print that holds them all. Fine-grained 8×10 sheet film, deep yellow for the skies, a period lens, the sky burned in at the print, selenium in the blacks.
The styles are interpretations, inspired by the work of the photographers named: their work remains theirs, and none of them had any part in Procol.
Before and after
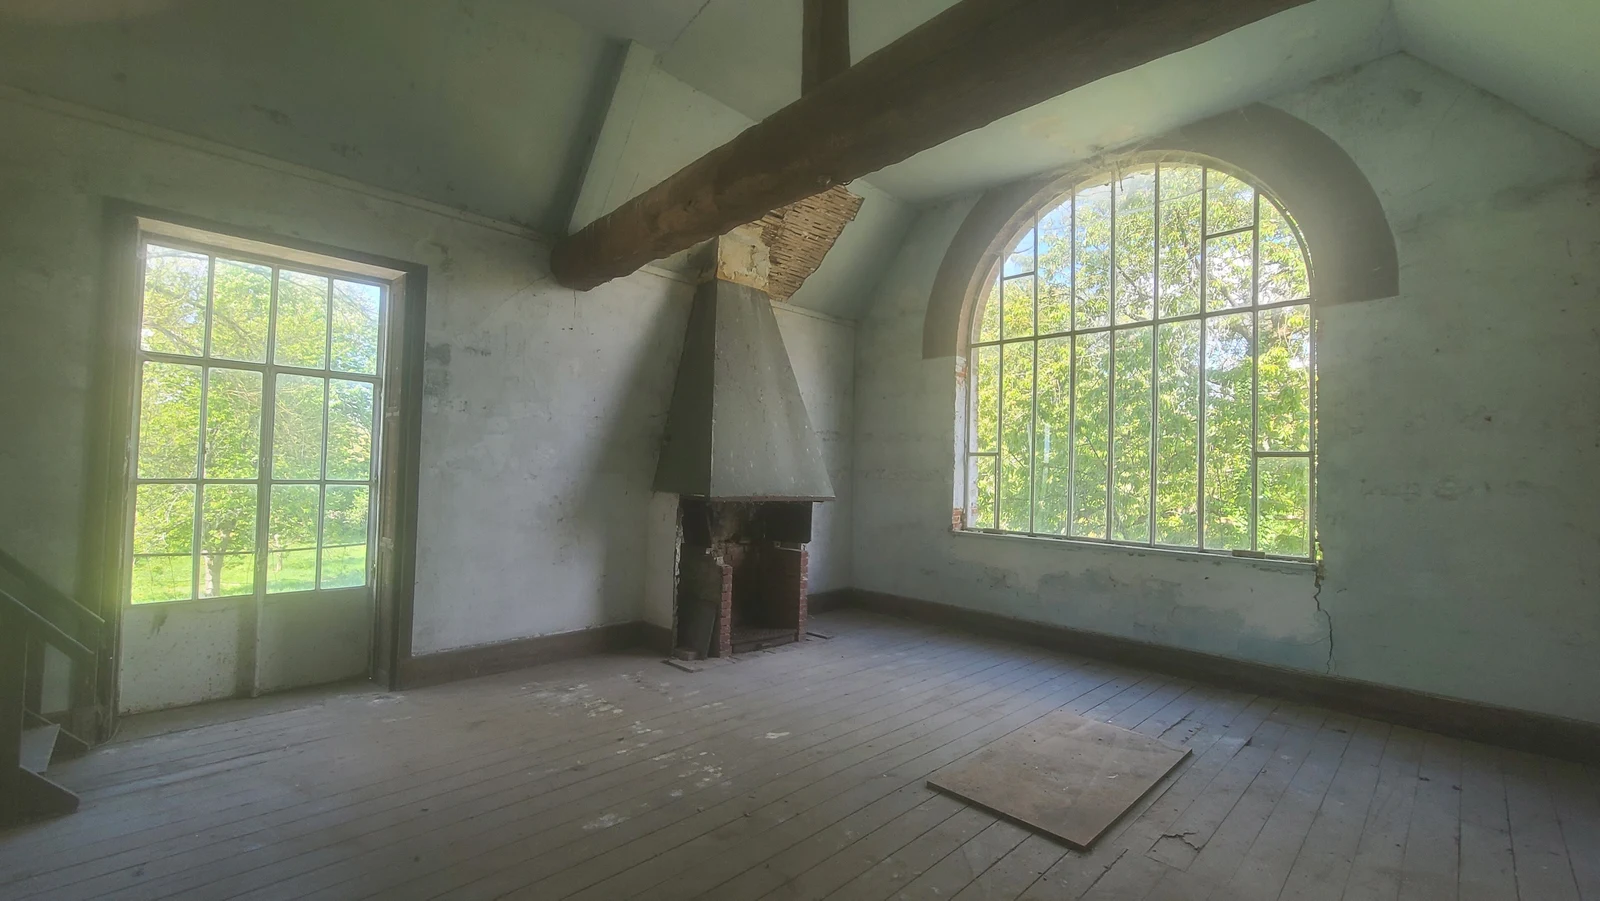
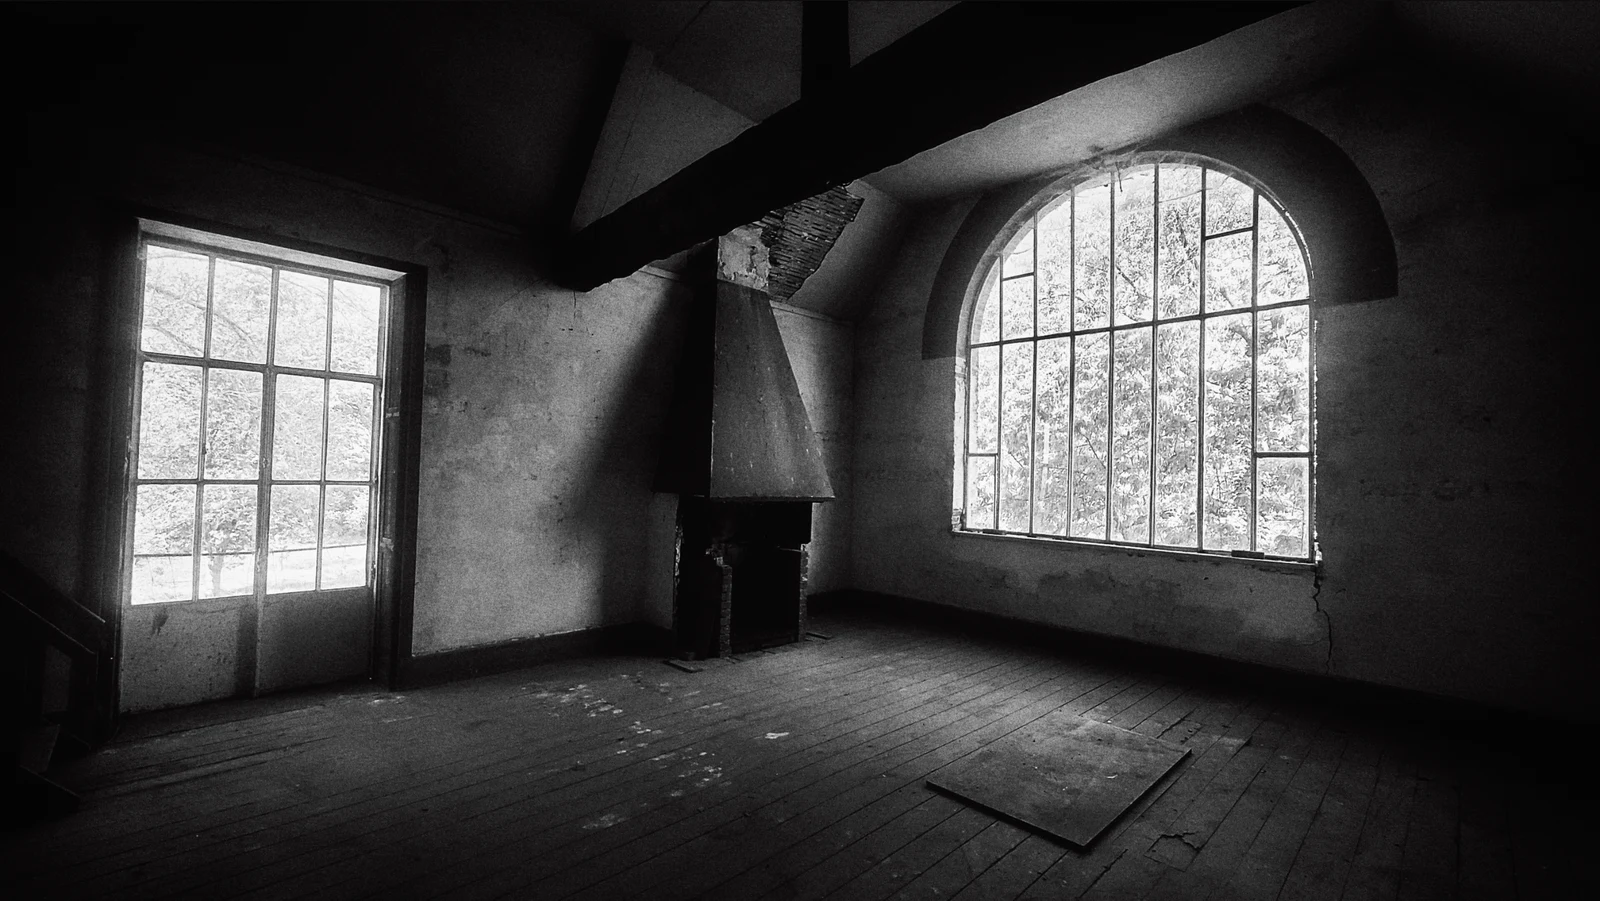
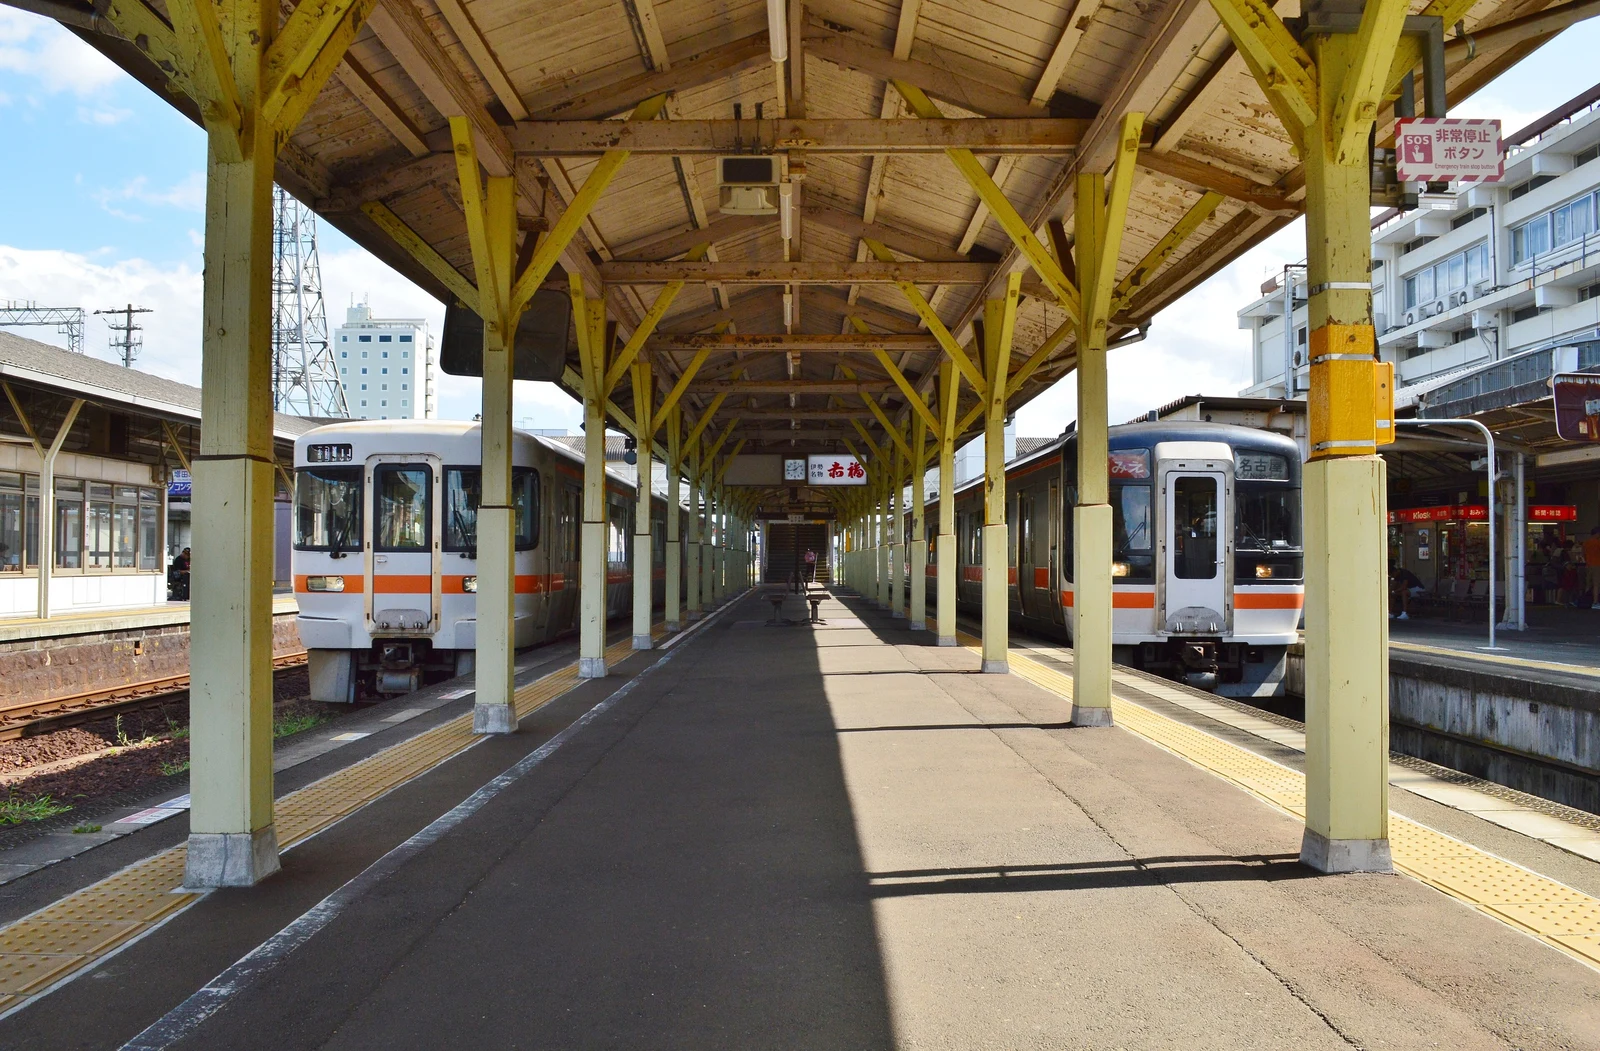
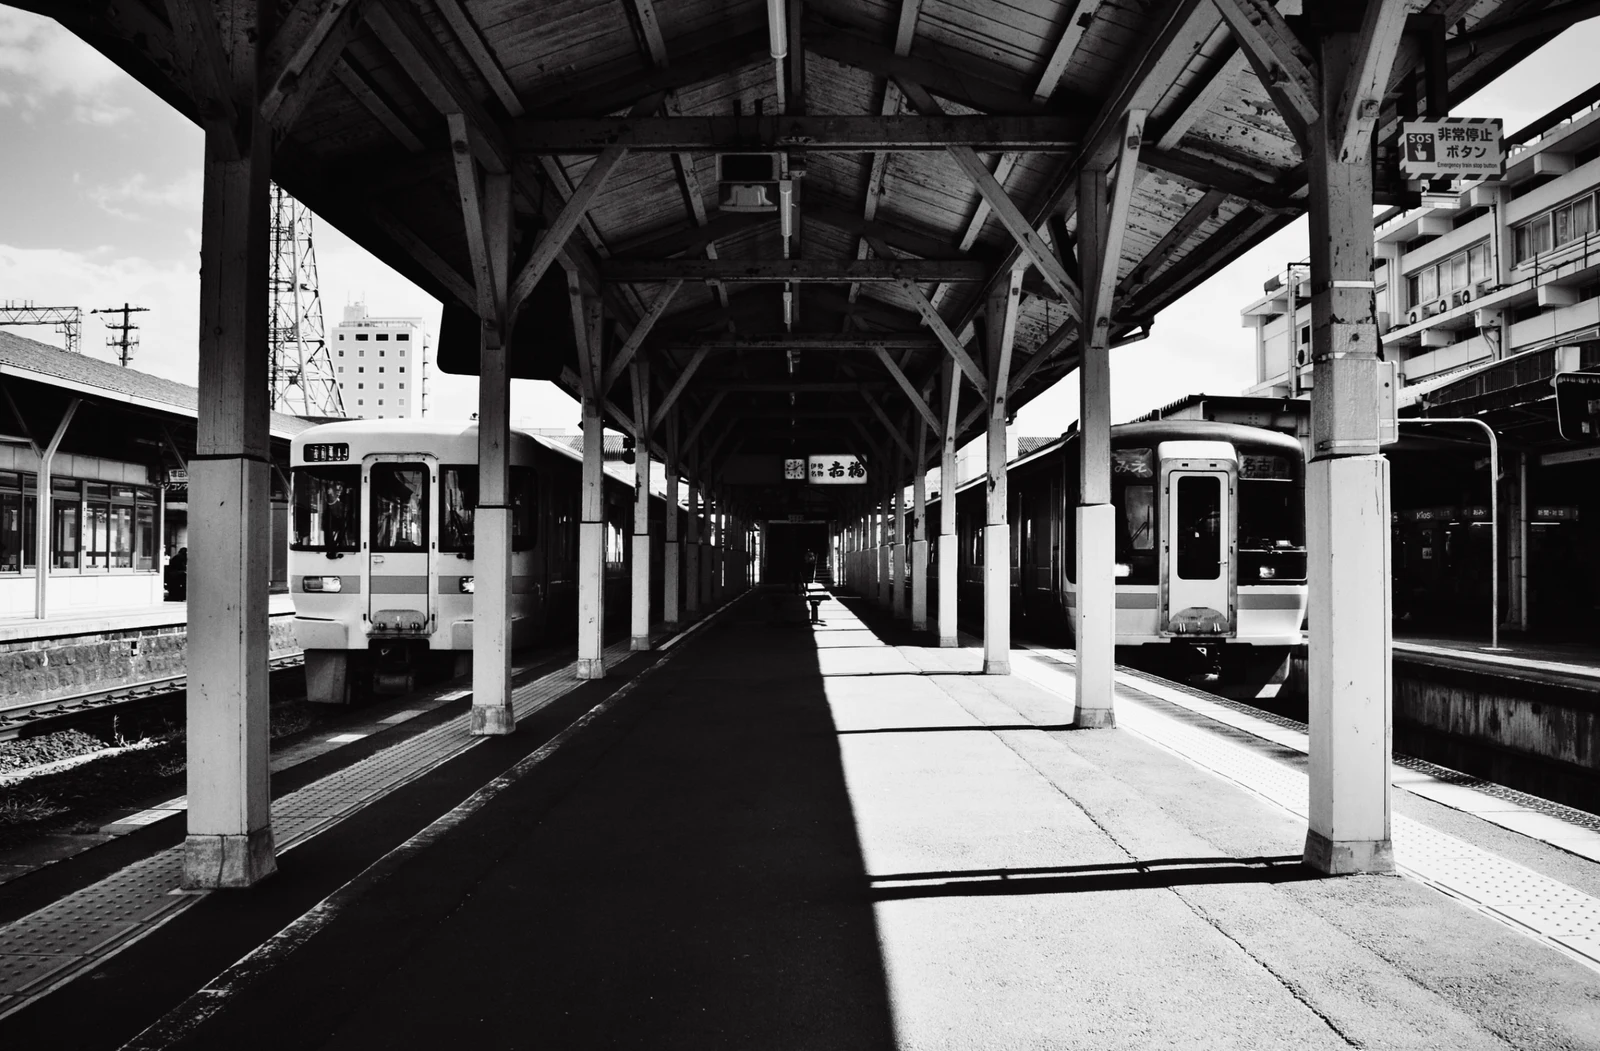
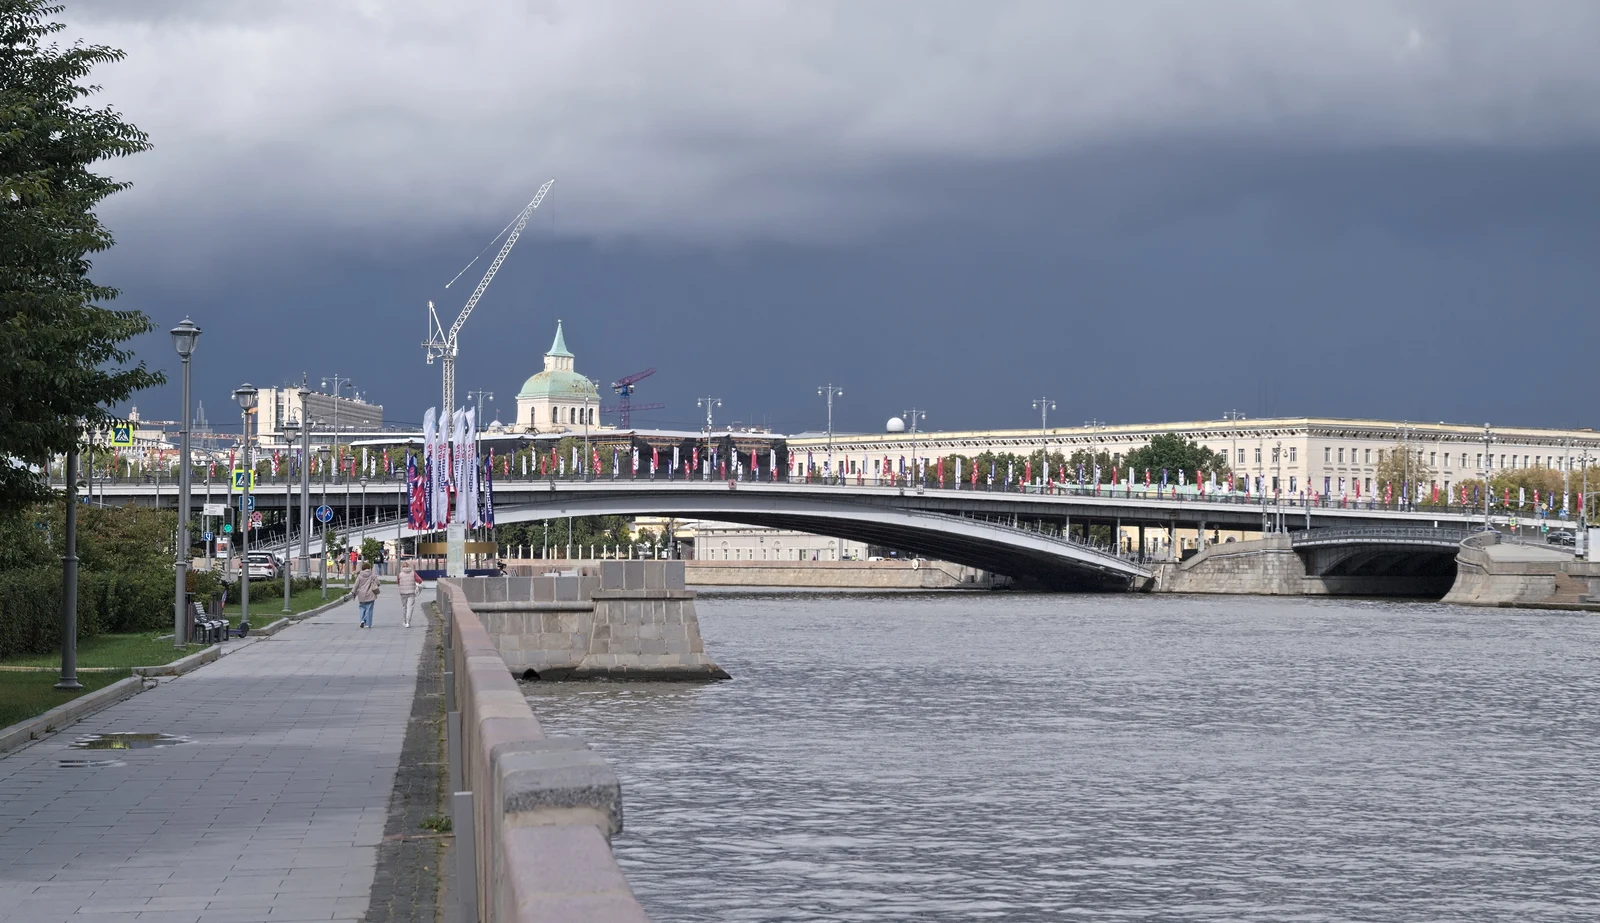
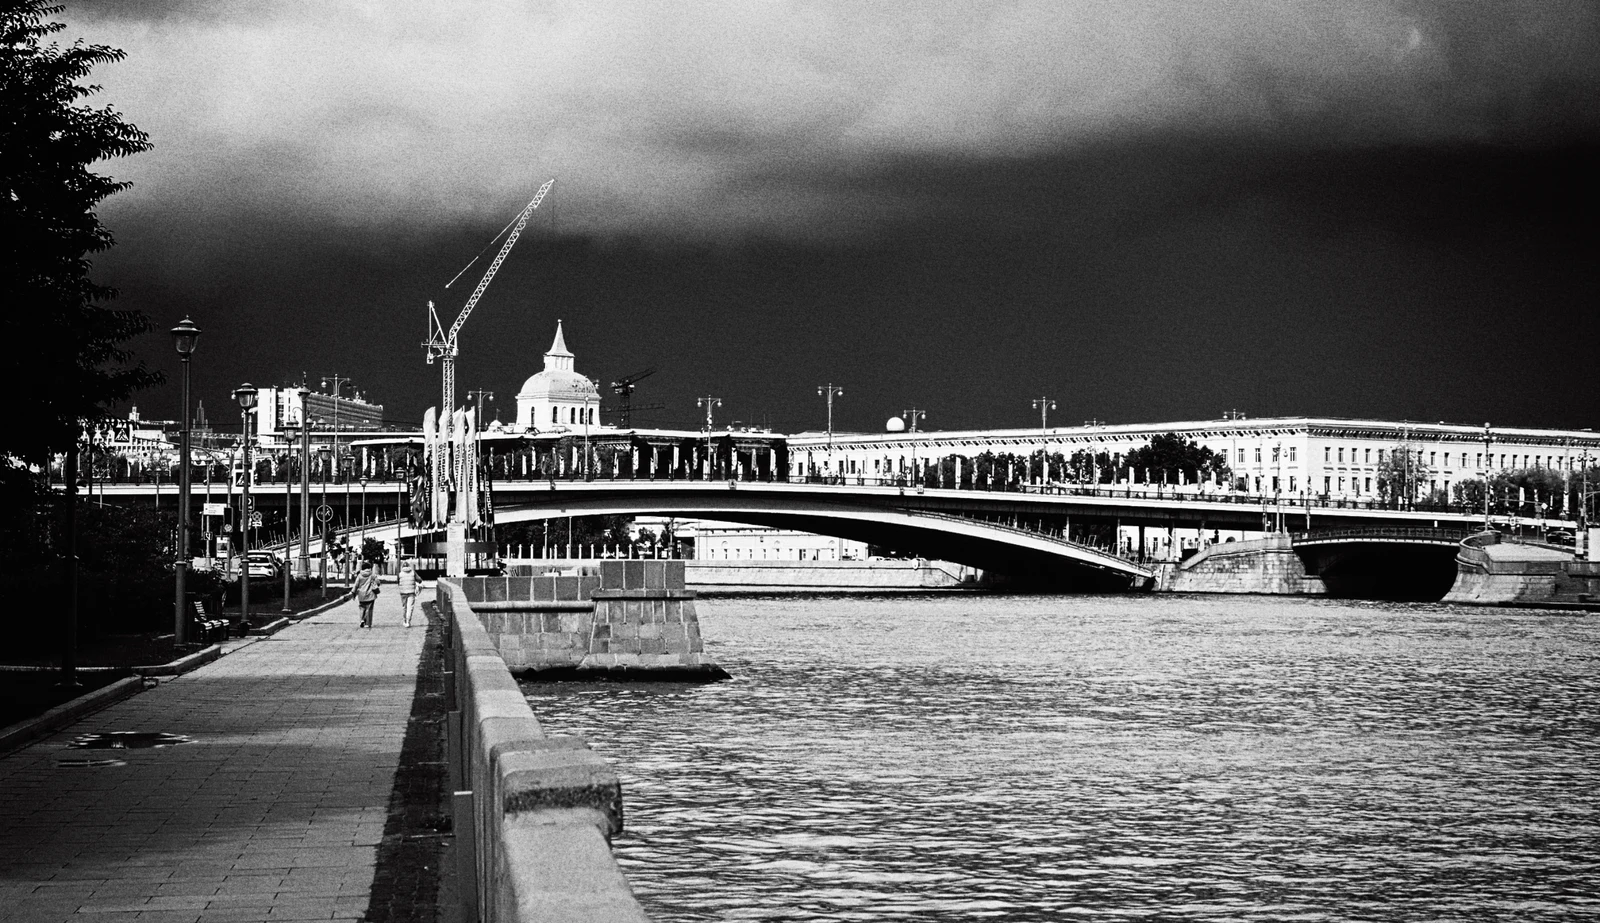
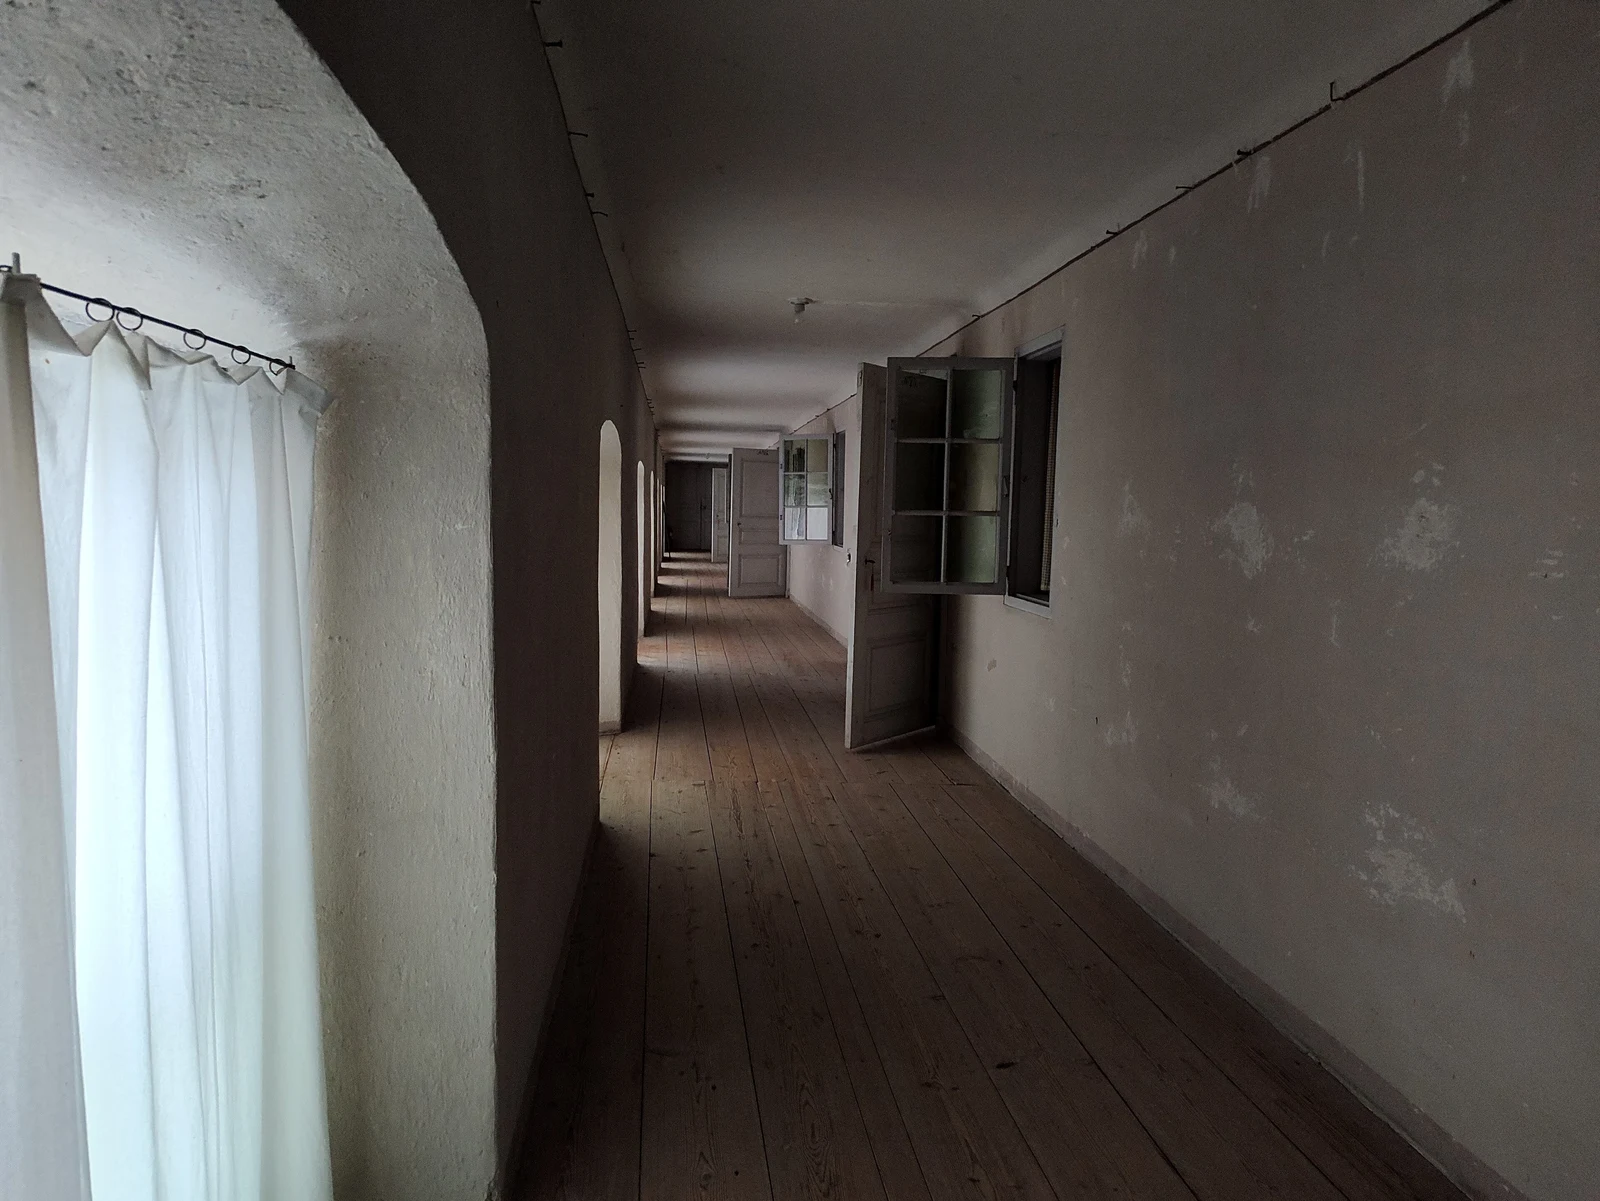
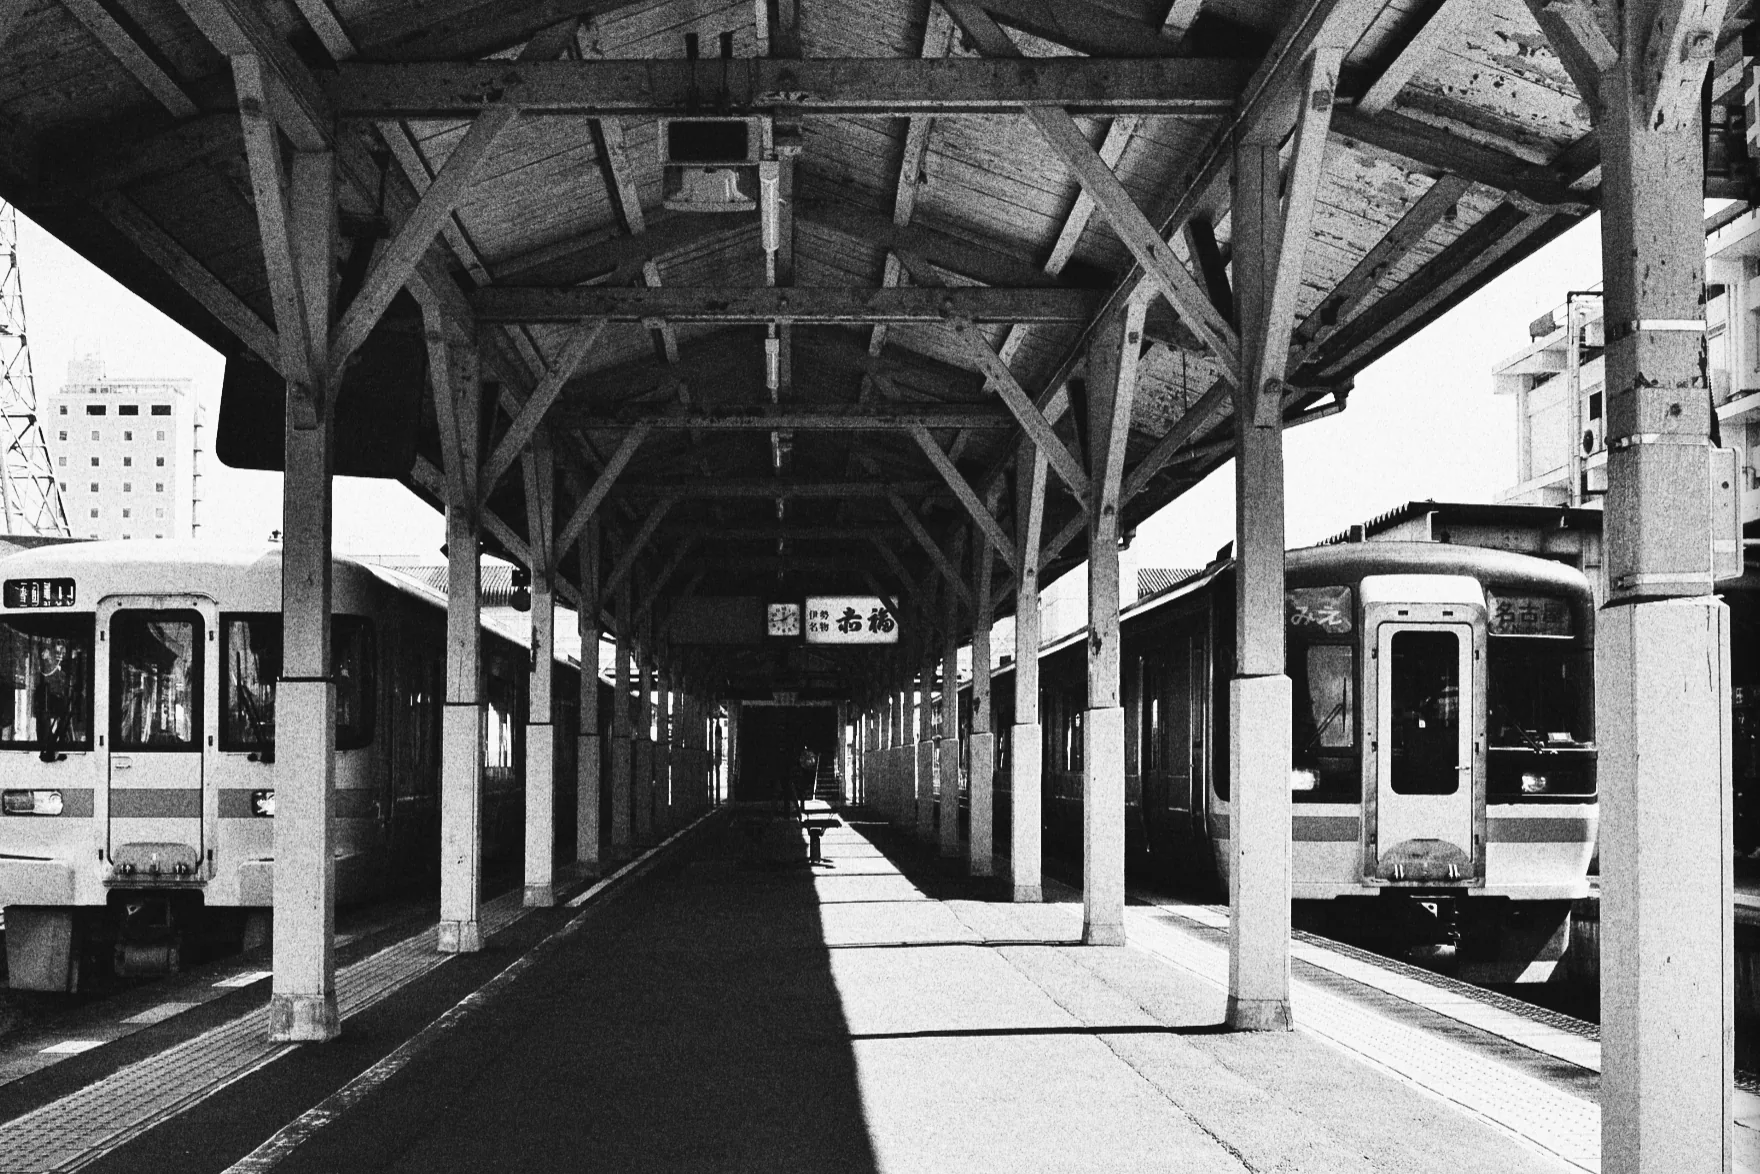
Colour sometimes gets in the way: it clashes, it flattens, it distracts. Take the colour away and the light is left, and the light was there all along. These are ordinary photos, taken just as they are; on the right, one Procol style and nothing else. Drag the line.
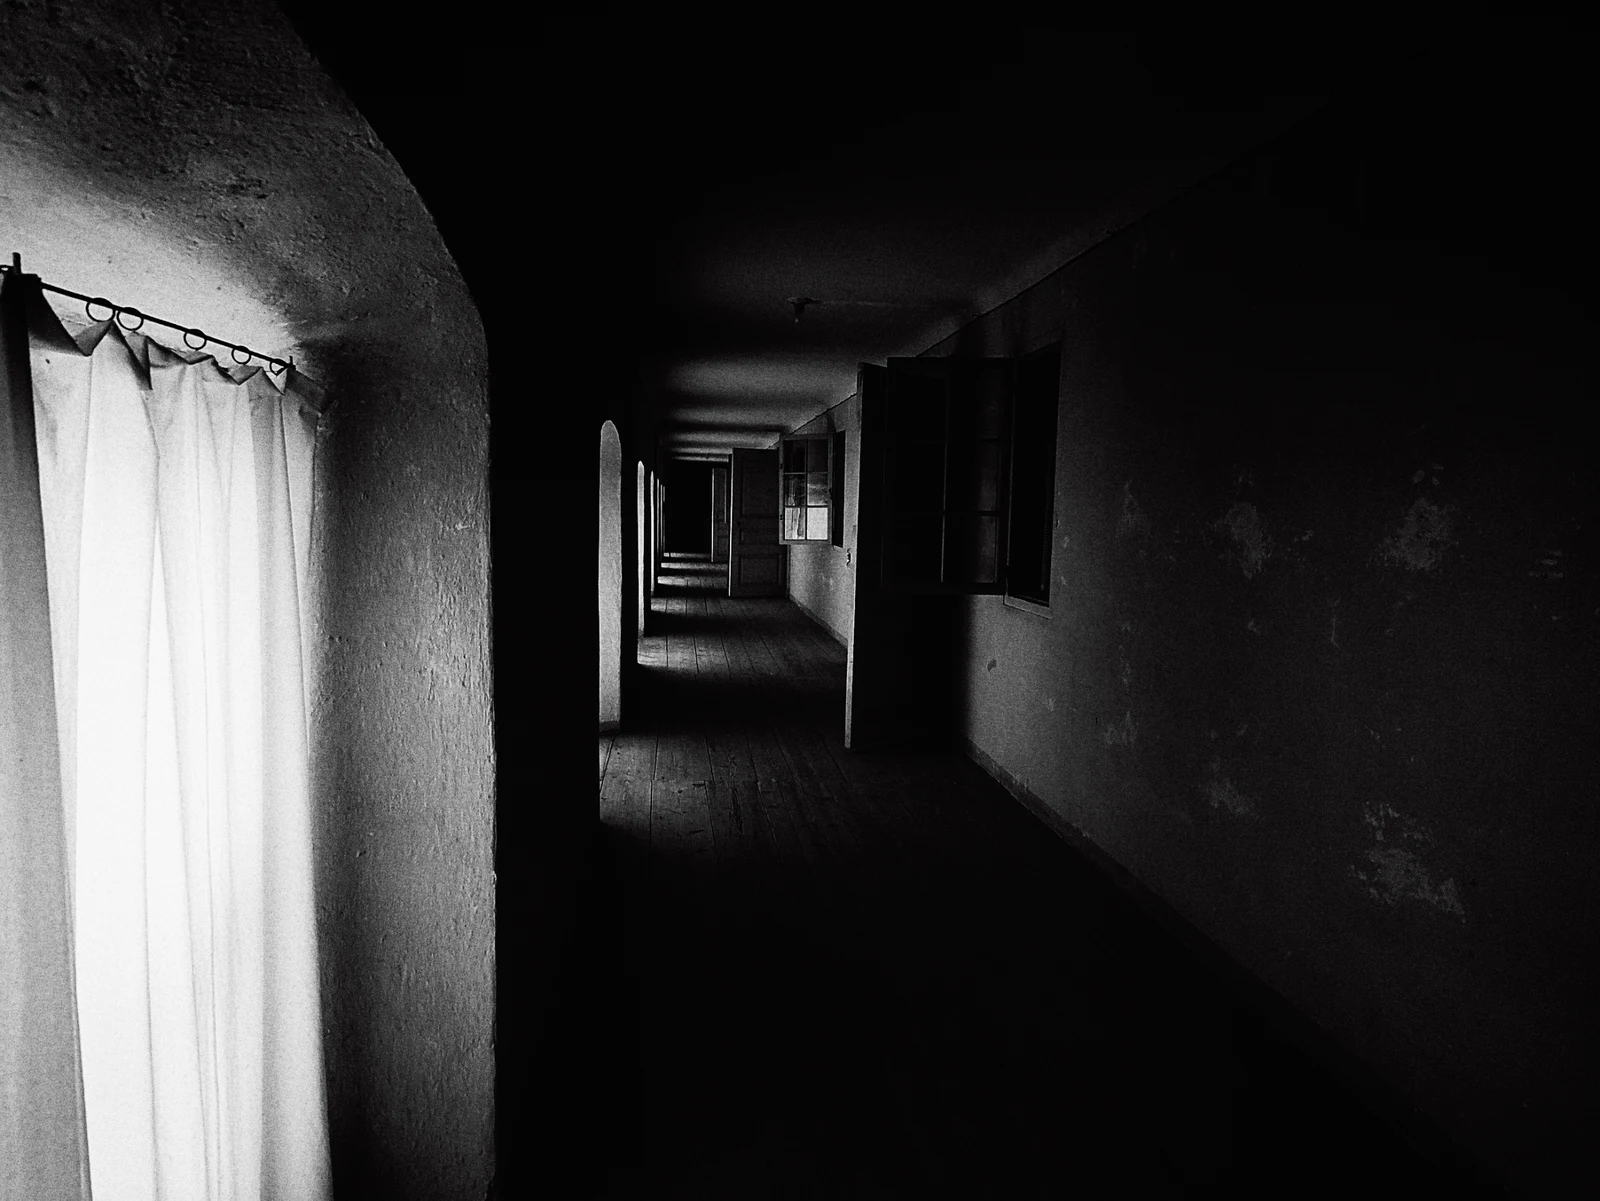
Our pride
It isn’t noise laid over the picture. In Procol, grain is born in the negative, as the silver density rises and falls, and it travels through the enlarger and onto the paper as it would in the dark: alive in the midtones, gone in the solid blacks and the paper white.
Grain is a shimmer in the grey: you feel it before you see it. It depends on the emulsion, the developer, the format and how far you enlarge, just as it does under the enlarger.
At 100%, one pixel of the photo is one pixel on screen: the only honest way to judge grain. In the preview, in the proofs and in the export the grains are the same, each in its place.
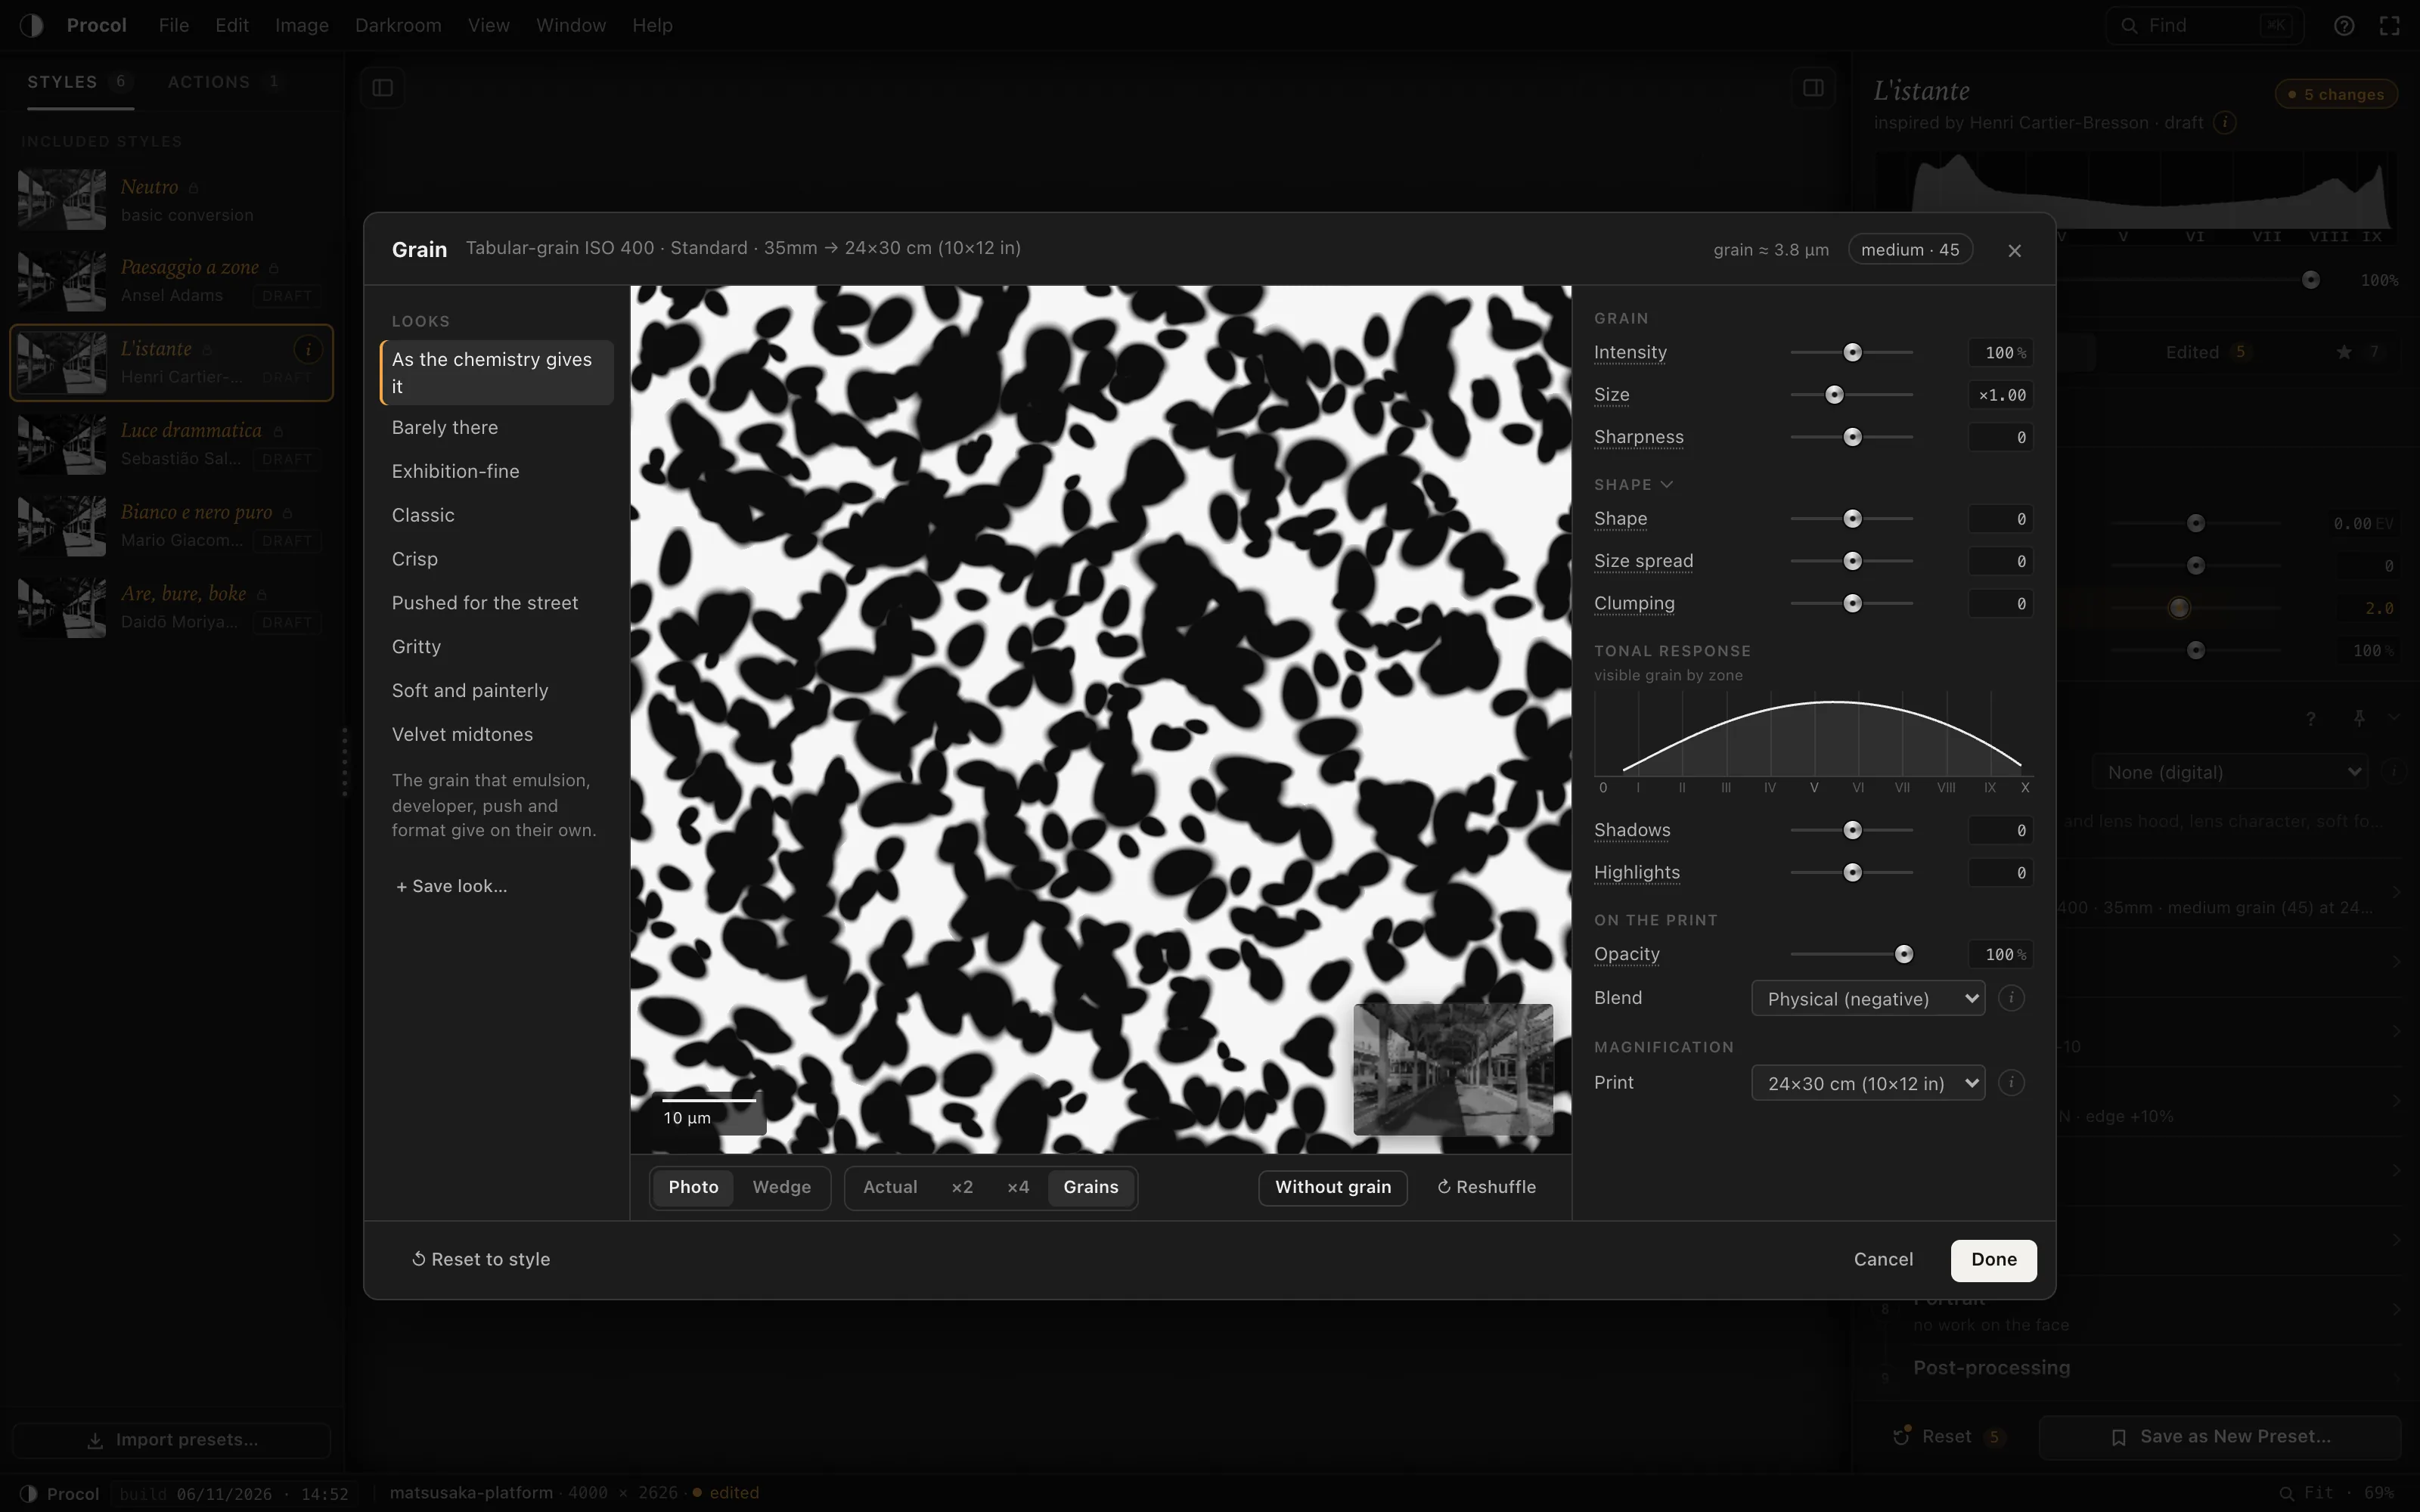
A field a hundred microns across and a ten-micron bar: the negative grain by grain. Silver ellipses of different sizes and angles, round or elongated, alone or in clumps, developing wherever the light has touched them.
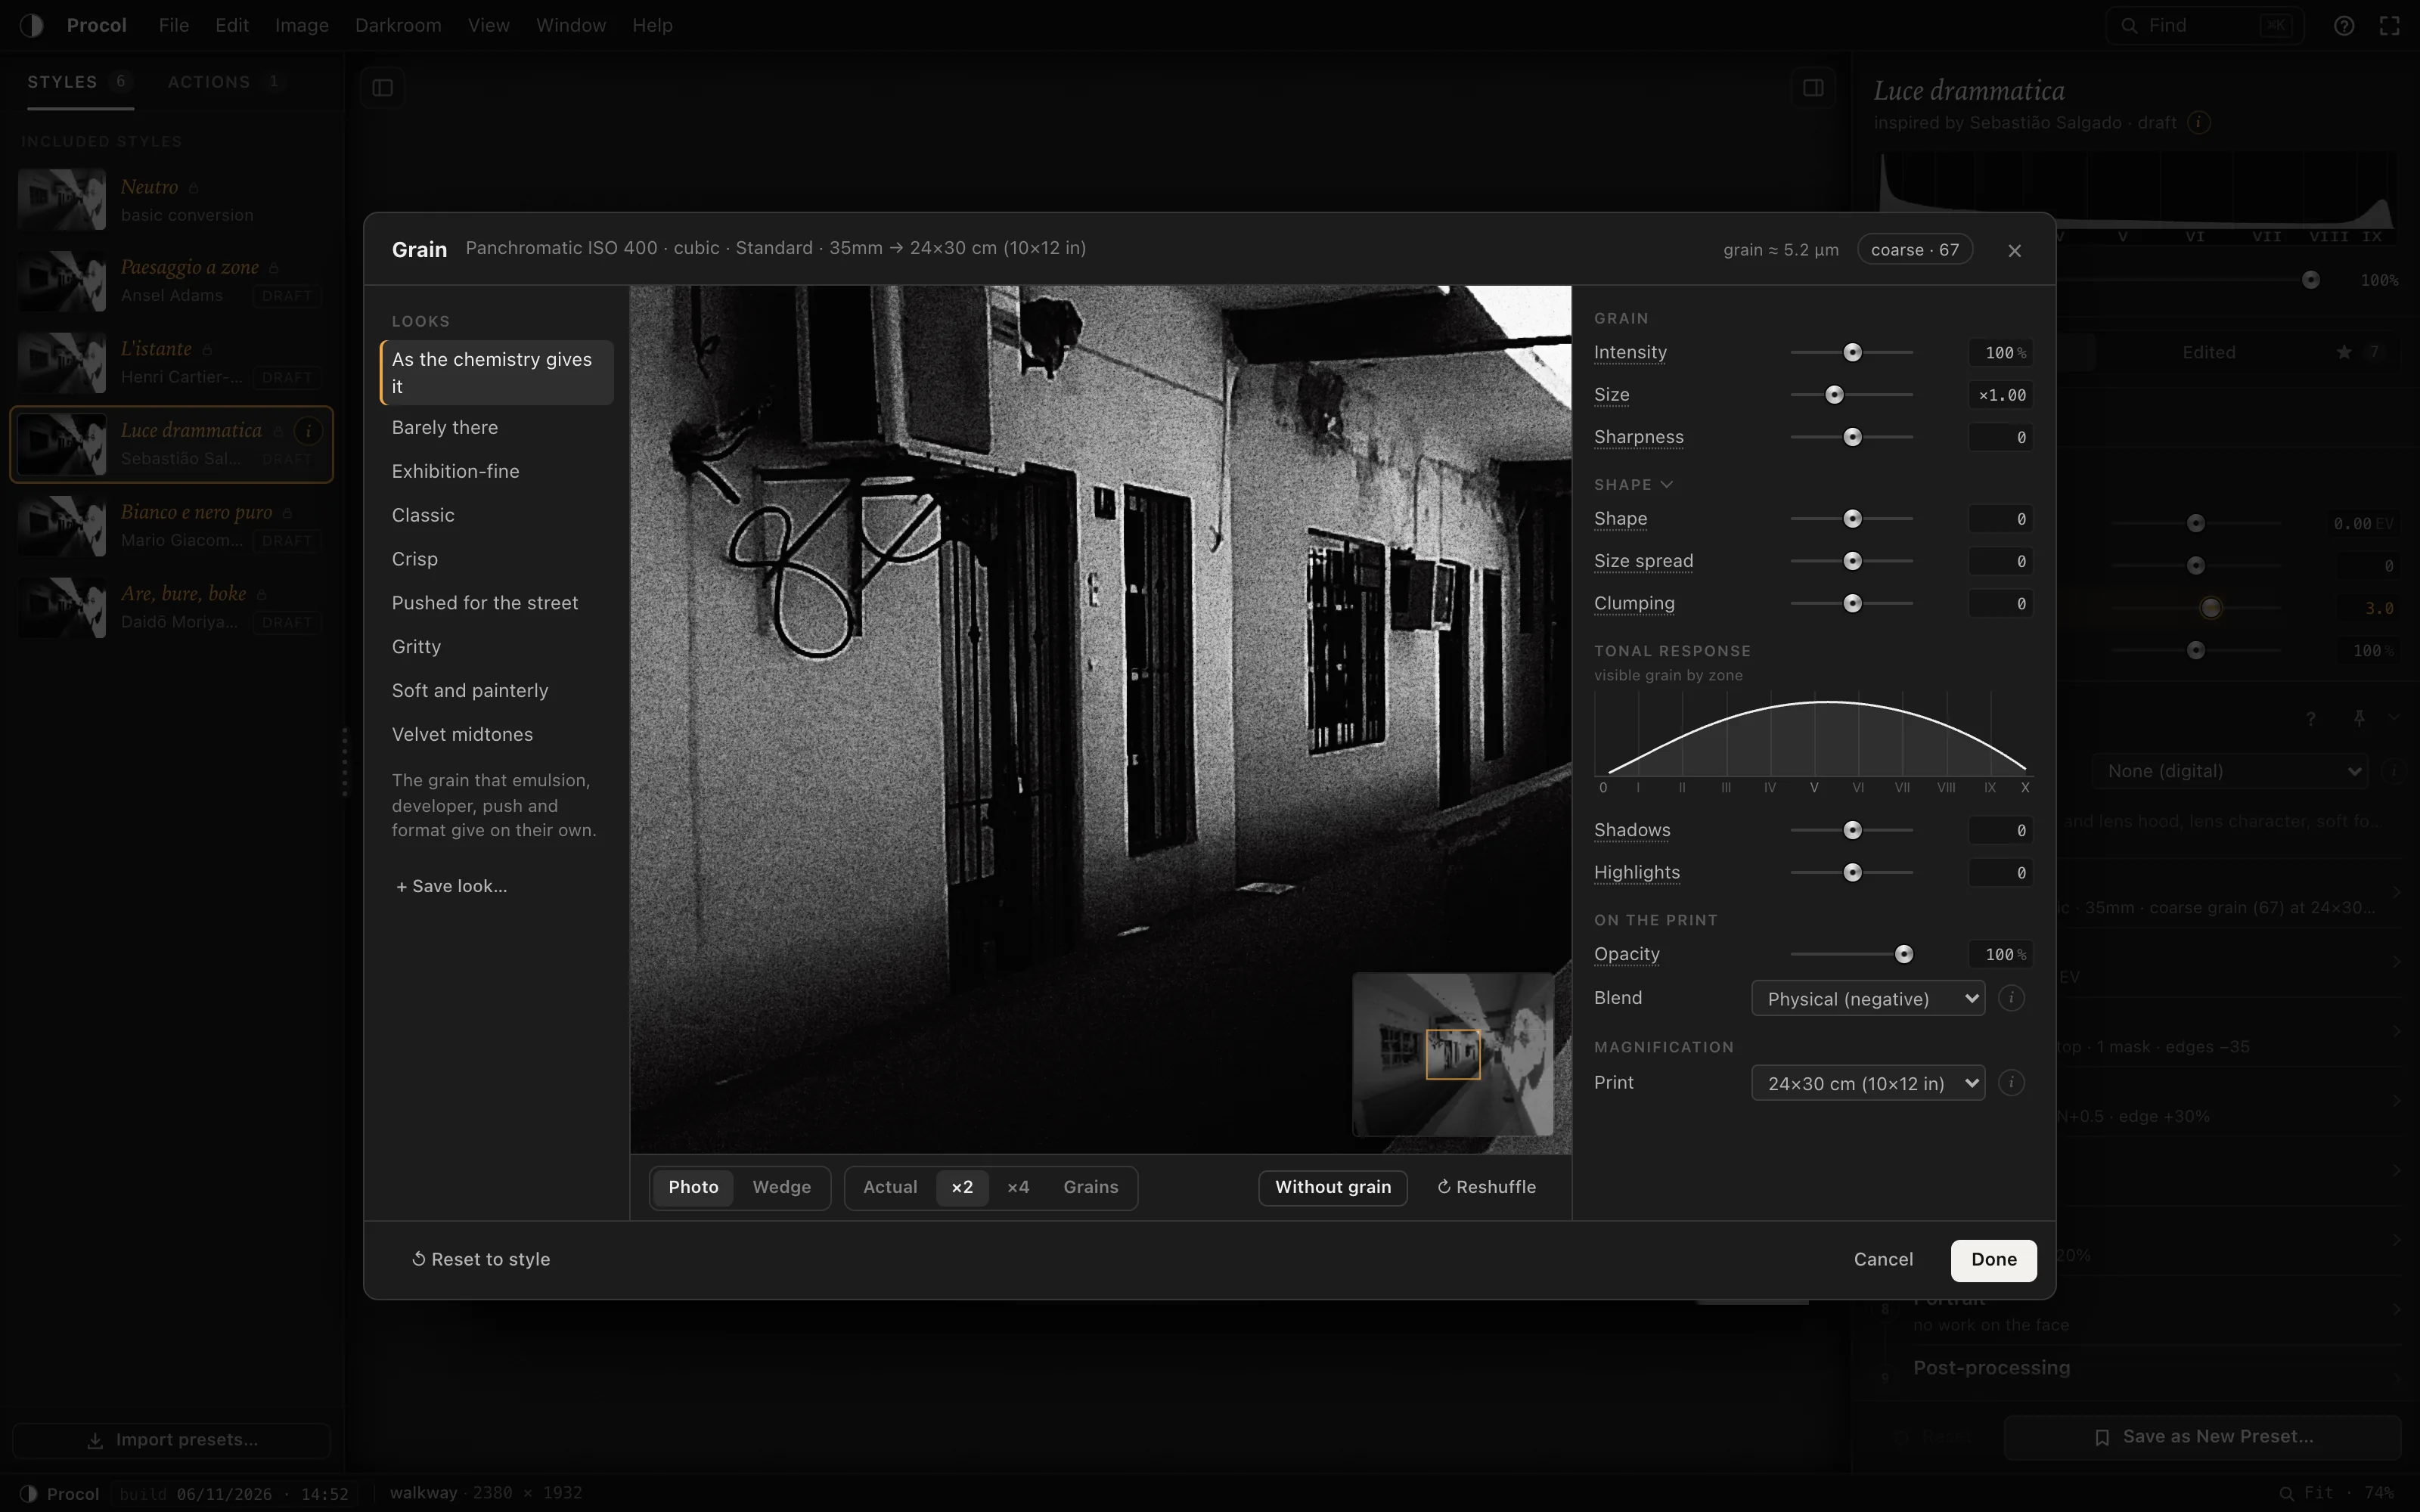
Grain editor
The loupe on the print at actual size, ×2 or ×4. The microscope on the negative, to drag about point by point. Looks, recipes that touch only the grain and that you can save as your own. The shape of the grains: round or elongated, even or scattered, in clumps. And the tonal response, zone by zone, to decide how much the shadows shimmer and how much the highlights do.
From the panchromatic films of the ’40s to tabular grain, high speed, orthochromatic and infrared. Interpretations inspired by the films of every era.
Standard, fine-grain, high-acutance, two-bath, stand, staining pyro: each one changes the grain and the edges in its own way.
From 35mm to 8×10 sheet film. Grain grows with enlargement, and the crop counts too.
Diffusion, condenser, point-source: the same grain, etched into the paper in different ways.
A process line
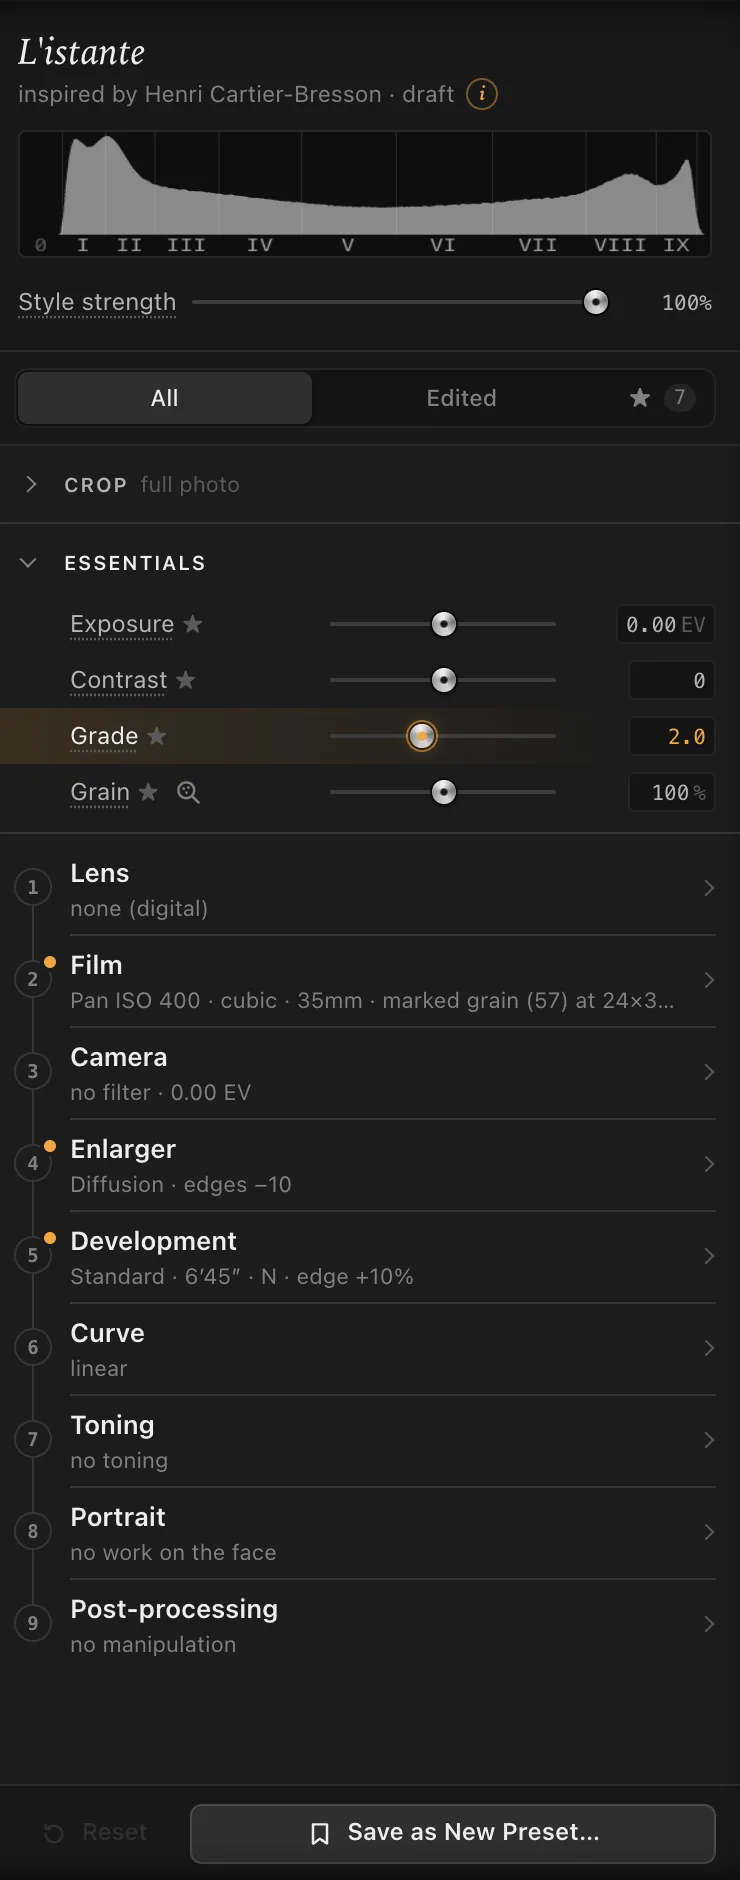
In the inspector, the analogue chain is a line of numbered Stages. Closed, each Stage tells you in a single line where you are; an amber dot shows where you’ve strayed from the recipe. And four sliders are always to hand: exposure, contrast, grade, grain.
Optical design and era, aperture, coating: the flare, the glow, the soft corners of old glass.
The emulsion, the format, the exposure index, the response to the colours of the scene. And the silver grain.
Exposure, motion blur and filters: yellow for the skies, red for clouds that stand out from the blue.
The head, the printing time, the masks, the burned edges, the easel.
The developer, from N−2 to N+2, and the agitation that draws the edge effects.
The tone curve, drawn freehand, point by point.
Selenium to deepen the blacks, sepia to warm the highlights: the tone of the silver.
The print guided by the face: eyes, lips, skin, the background sinking away. Face detection runs on your computer.
The darkroom pushed to its limits: Sabattier, Mackie lines, the baths that rescue a negative.
At the enlarger bench
The same old moves, one at a time, under your fingertip: meter the light, burn and dodge, choose the crop, test before you print.
Tap the shadow that must hold detail, then the brightest highlight. Procol tells you which zones they fall on and suggests exposure and development, N−1 or N+1, the way you’d pencil it on the film holder.
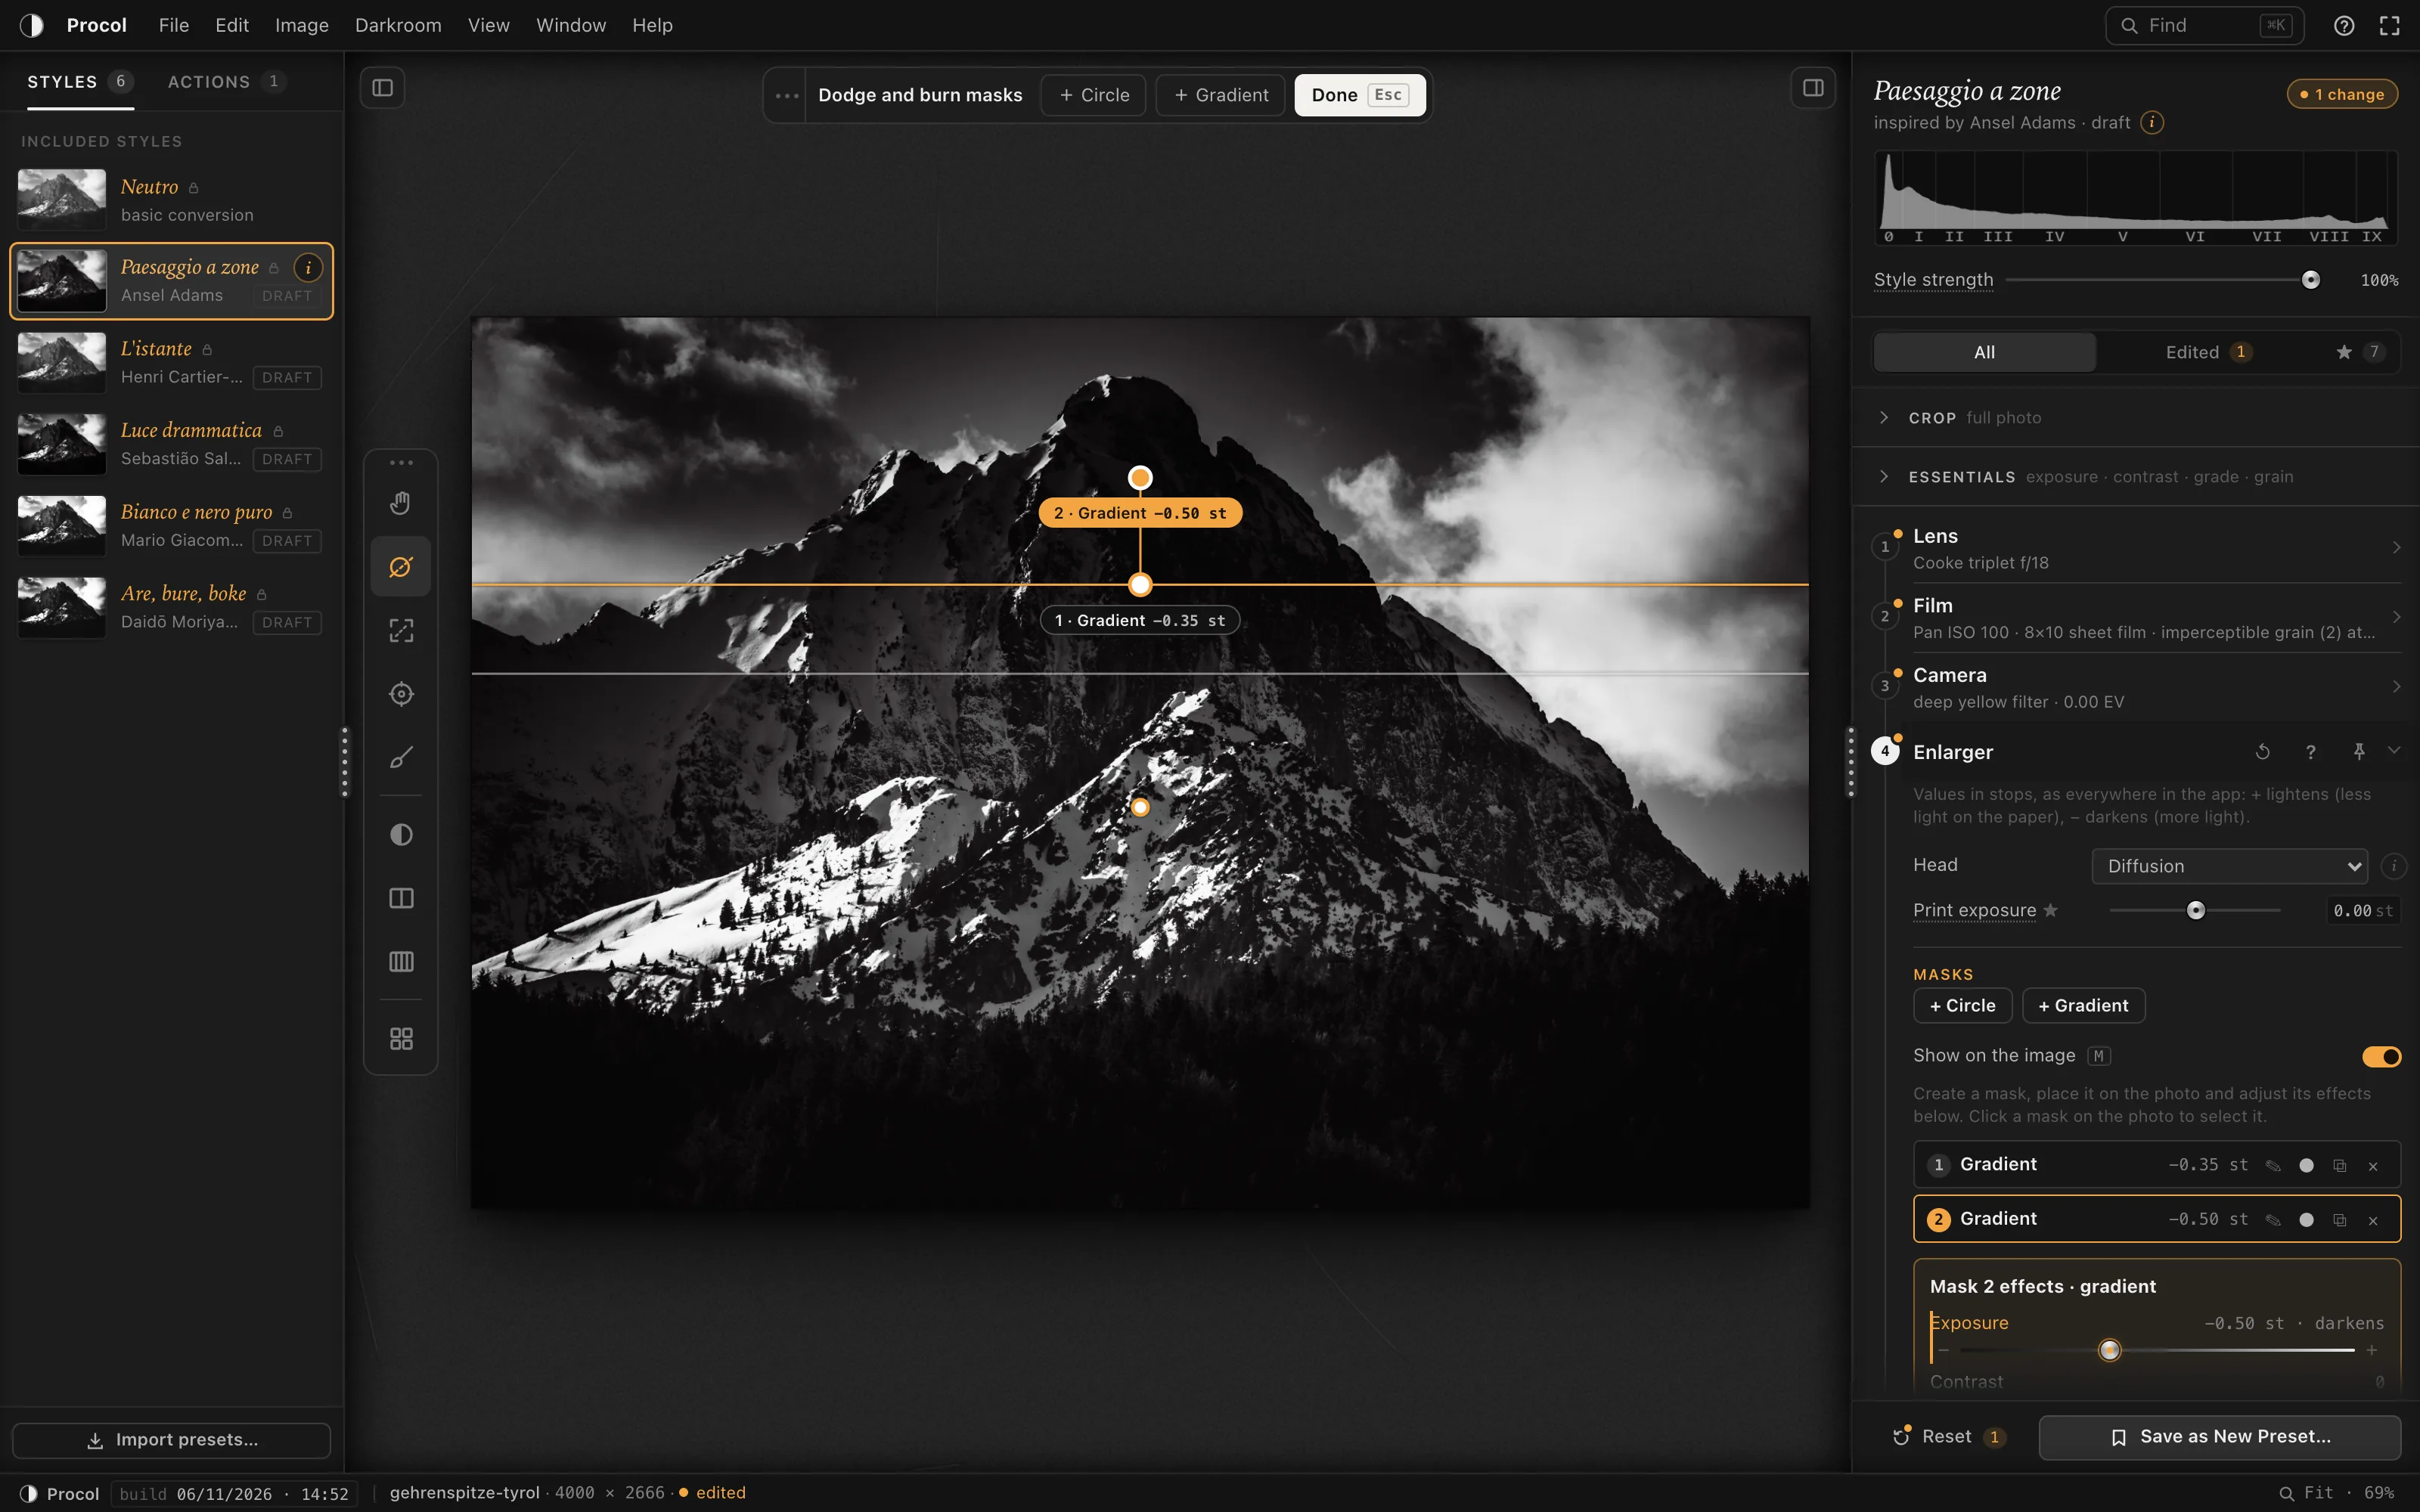
Masks and brush are your hands under the enlarger: give light where it’s needed, hold it back where a face needs to breathe. With a graphics tablet, the pressure meters out the light.
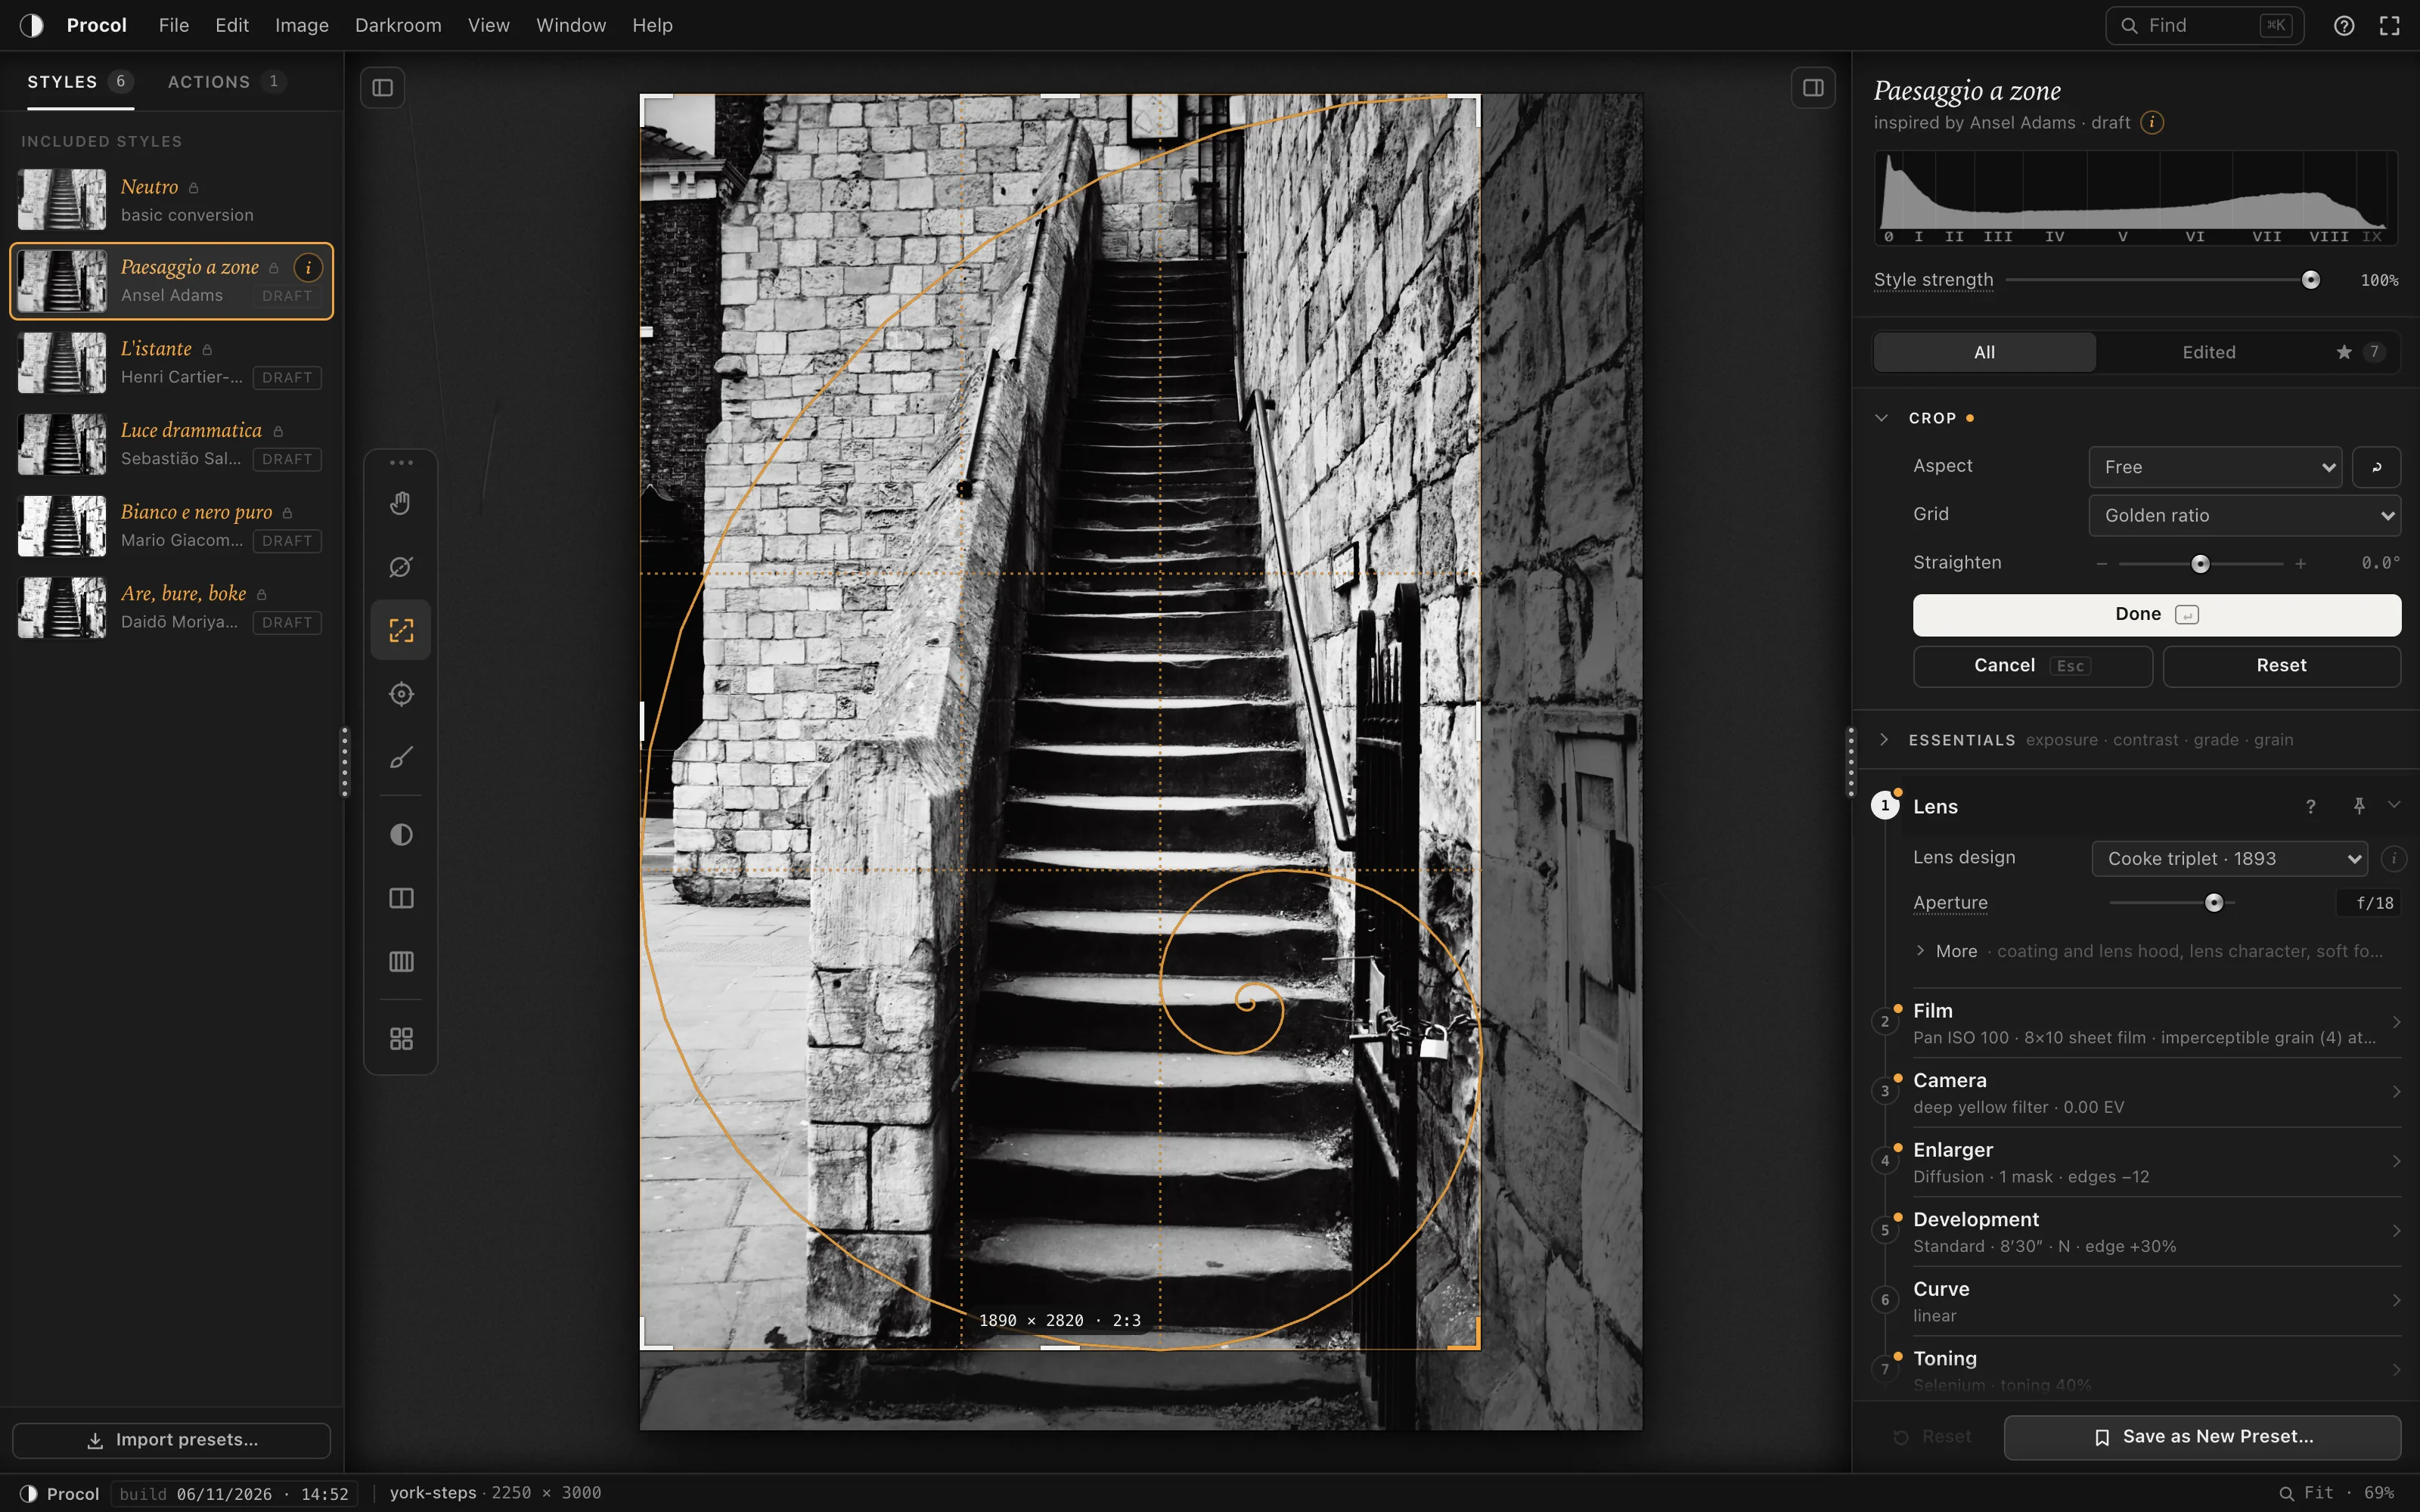
The crop is part of the enlargement: cut the frame in half and you enlarge it twice as much, and the grain knows it. White border, filed-out carrier, film rebate, sheet film edge.
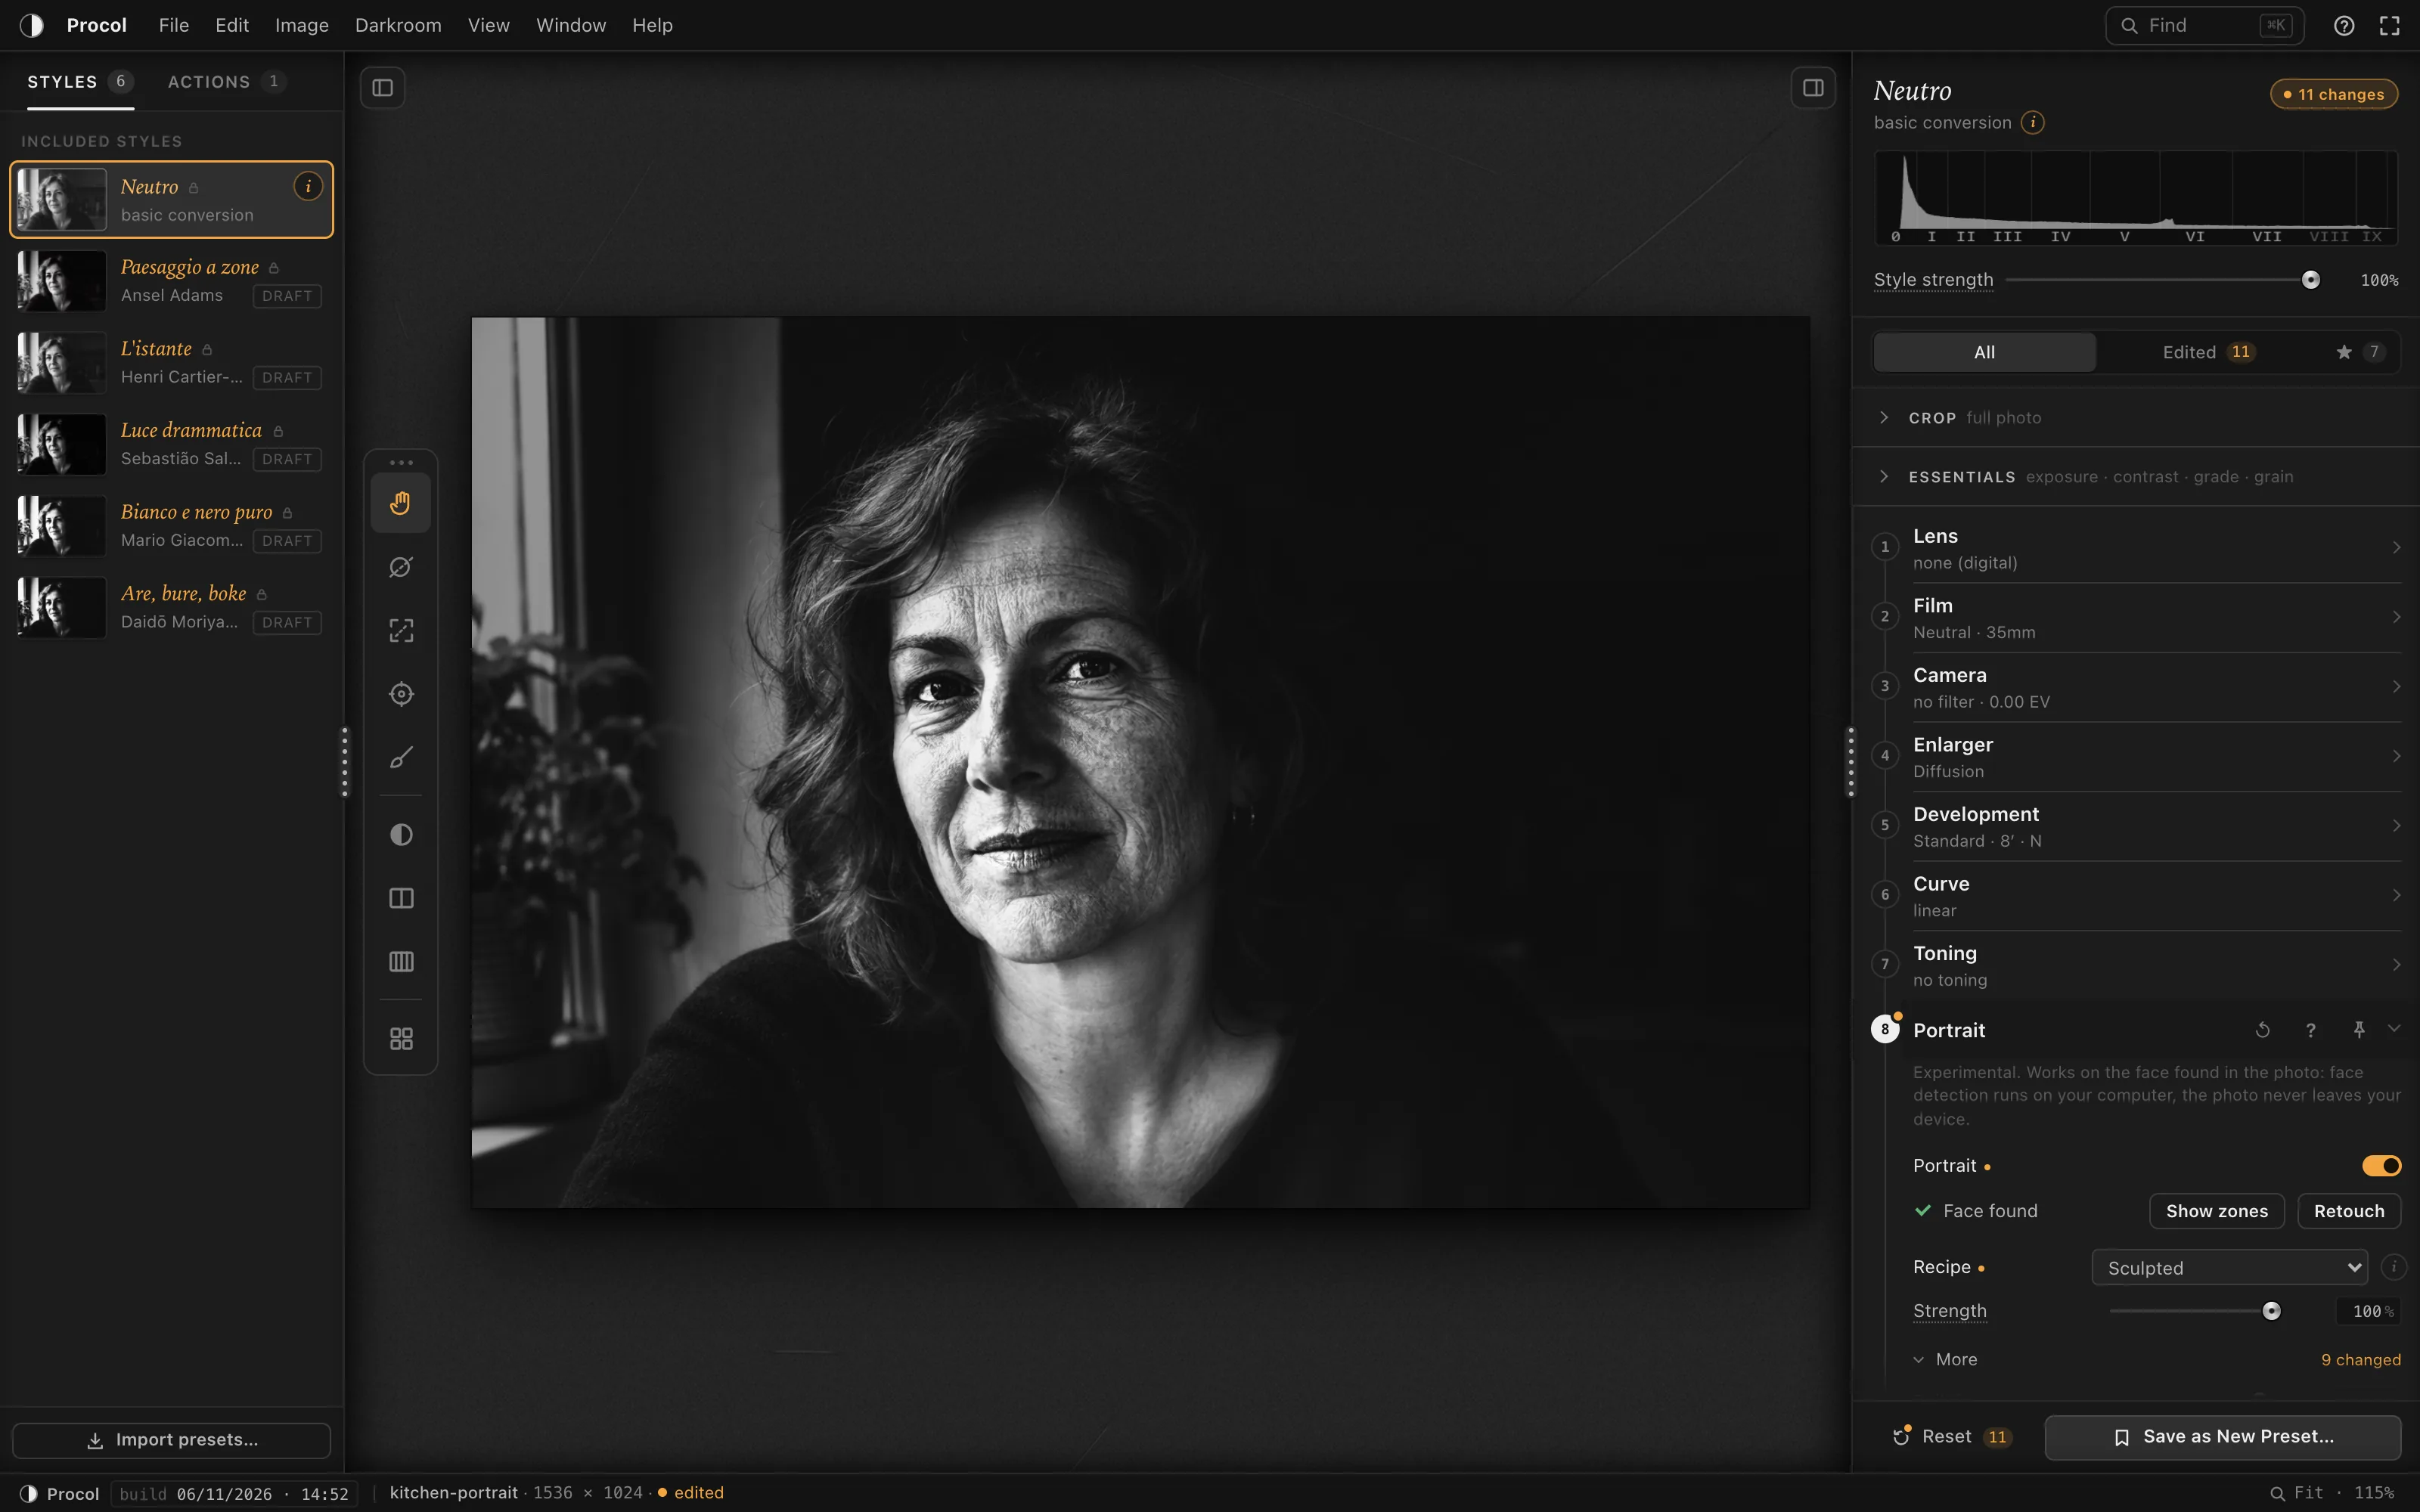
Sculpted, chiaroscuro, white backdrop: recipes that follow the face and work only where they’re needed. Up to six faces in a group photo.
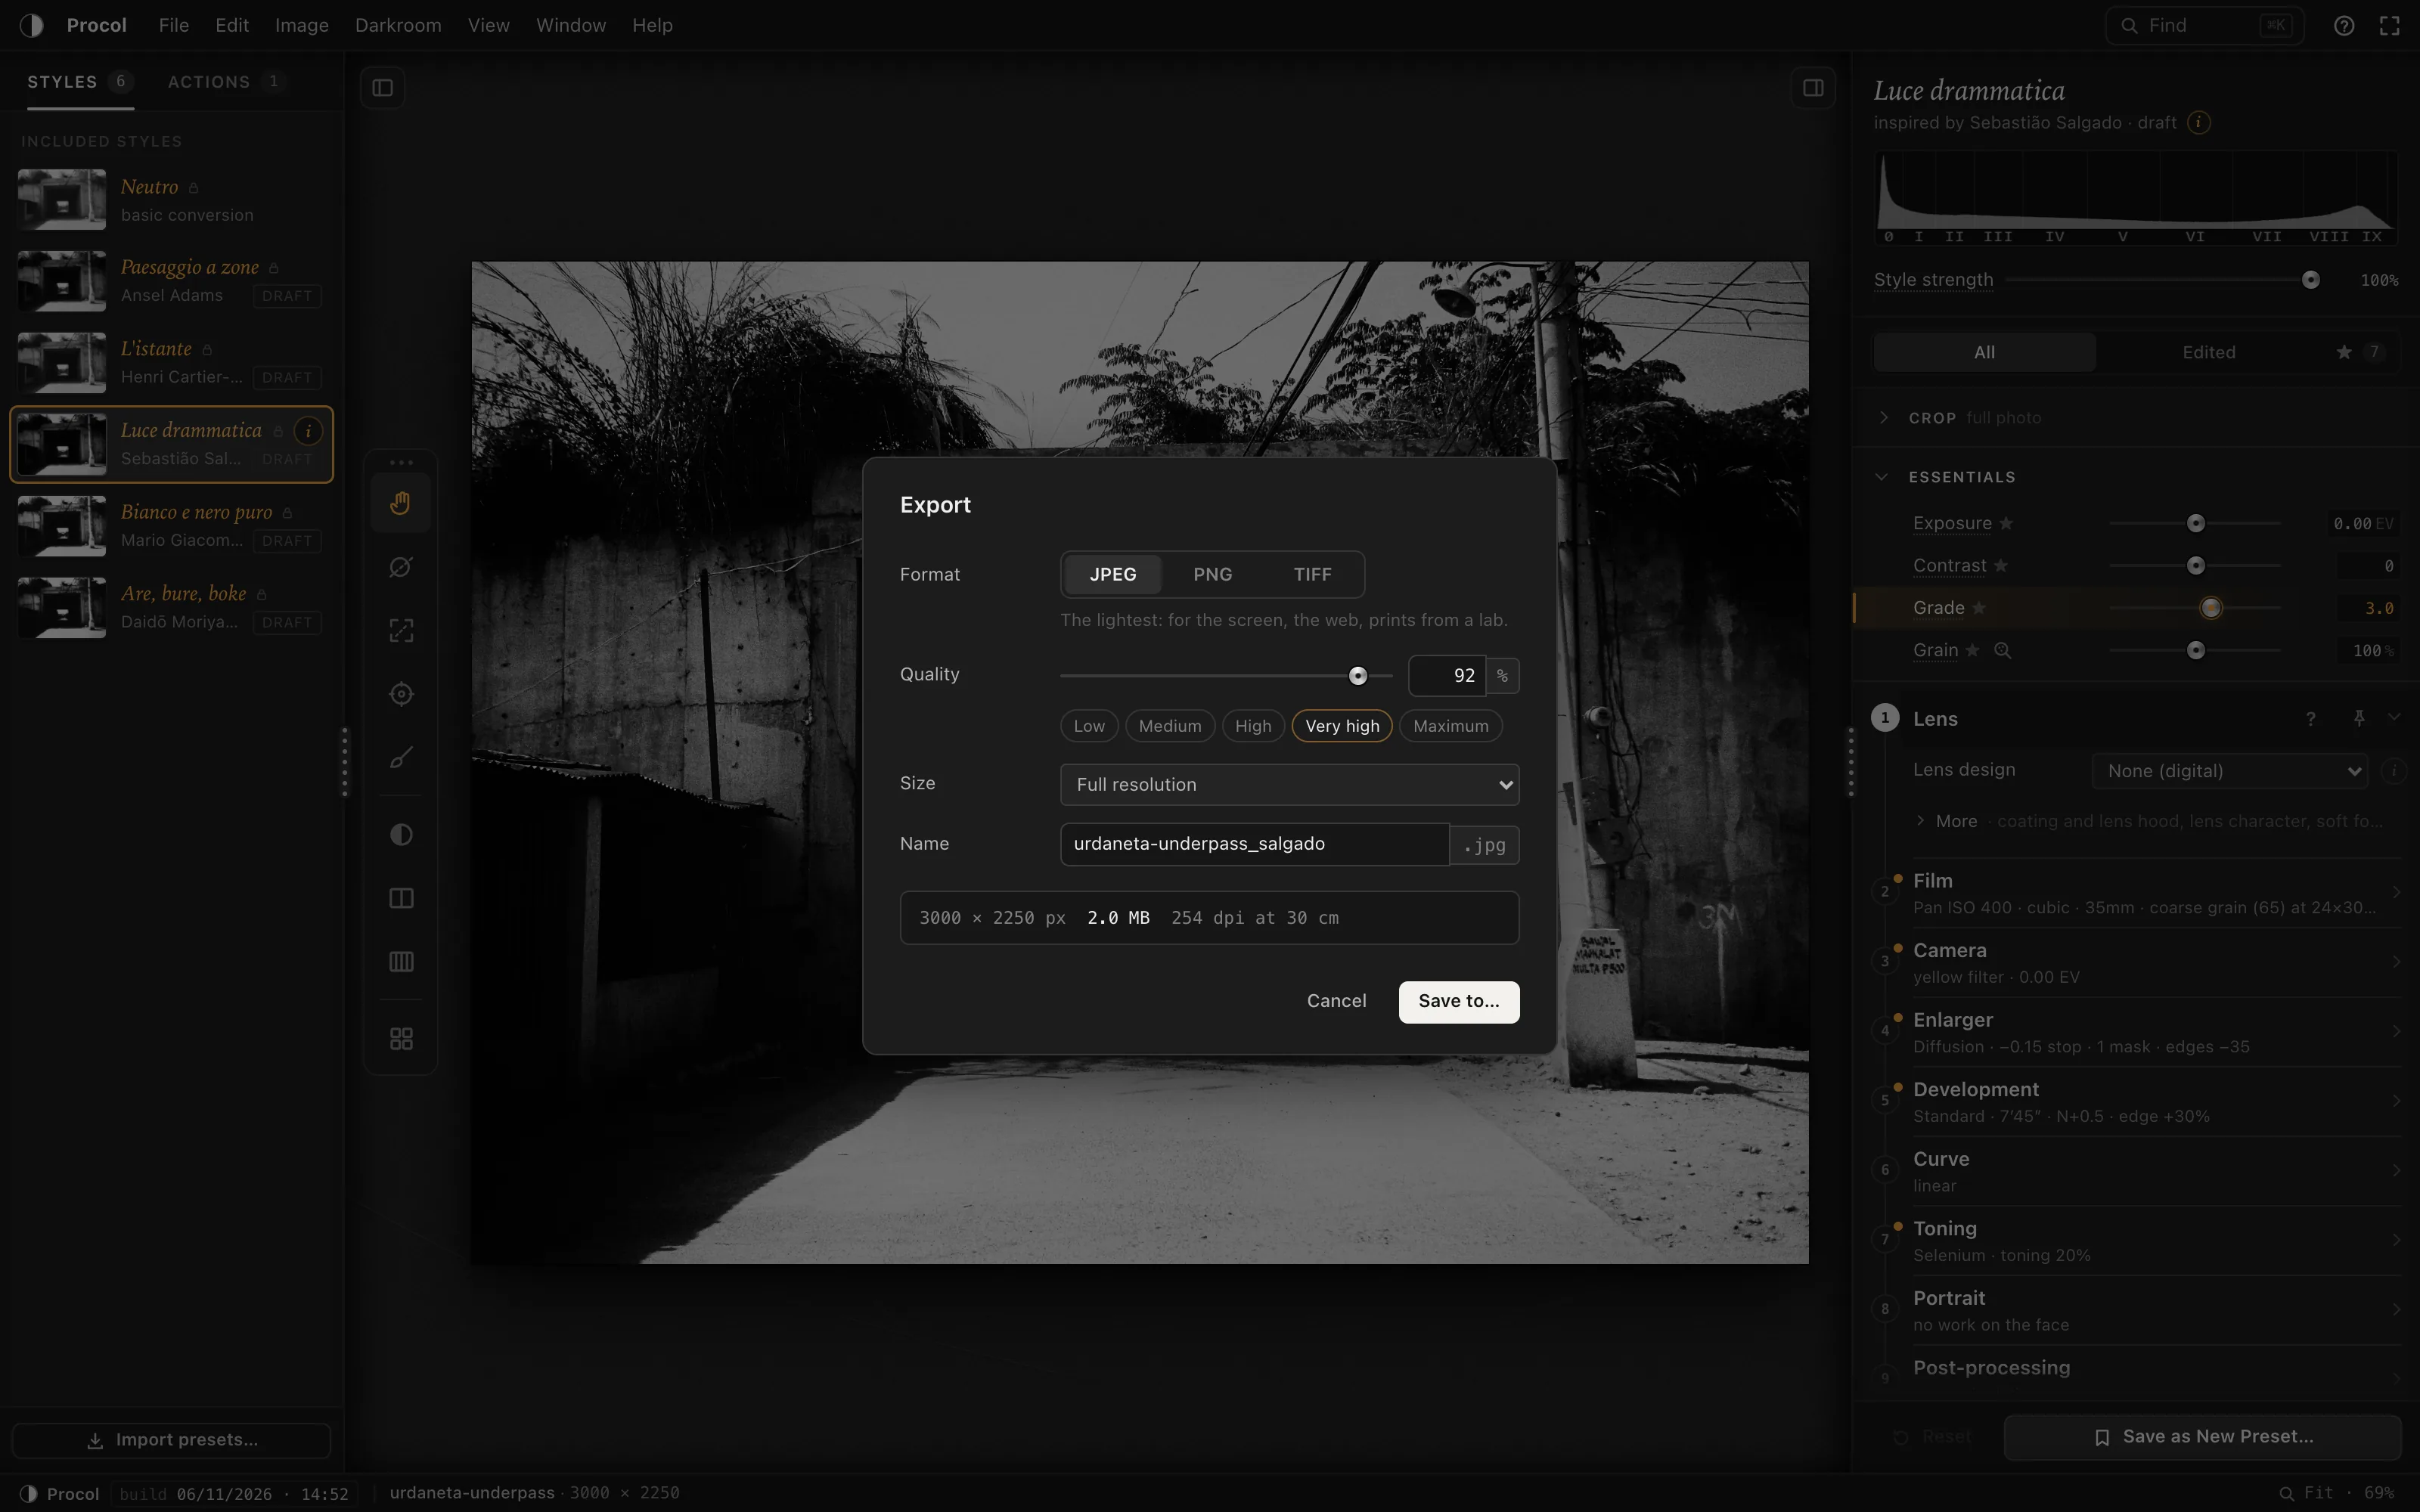
Export works everything out again at the photo’s full resolution, in JPEG, PNG or TIFF, and tells you how many dpi it will have at the print size you choose.
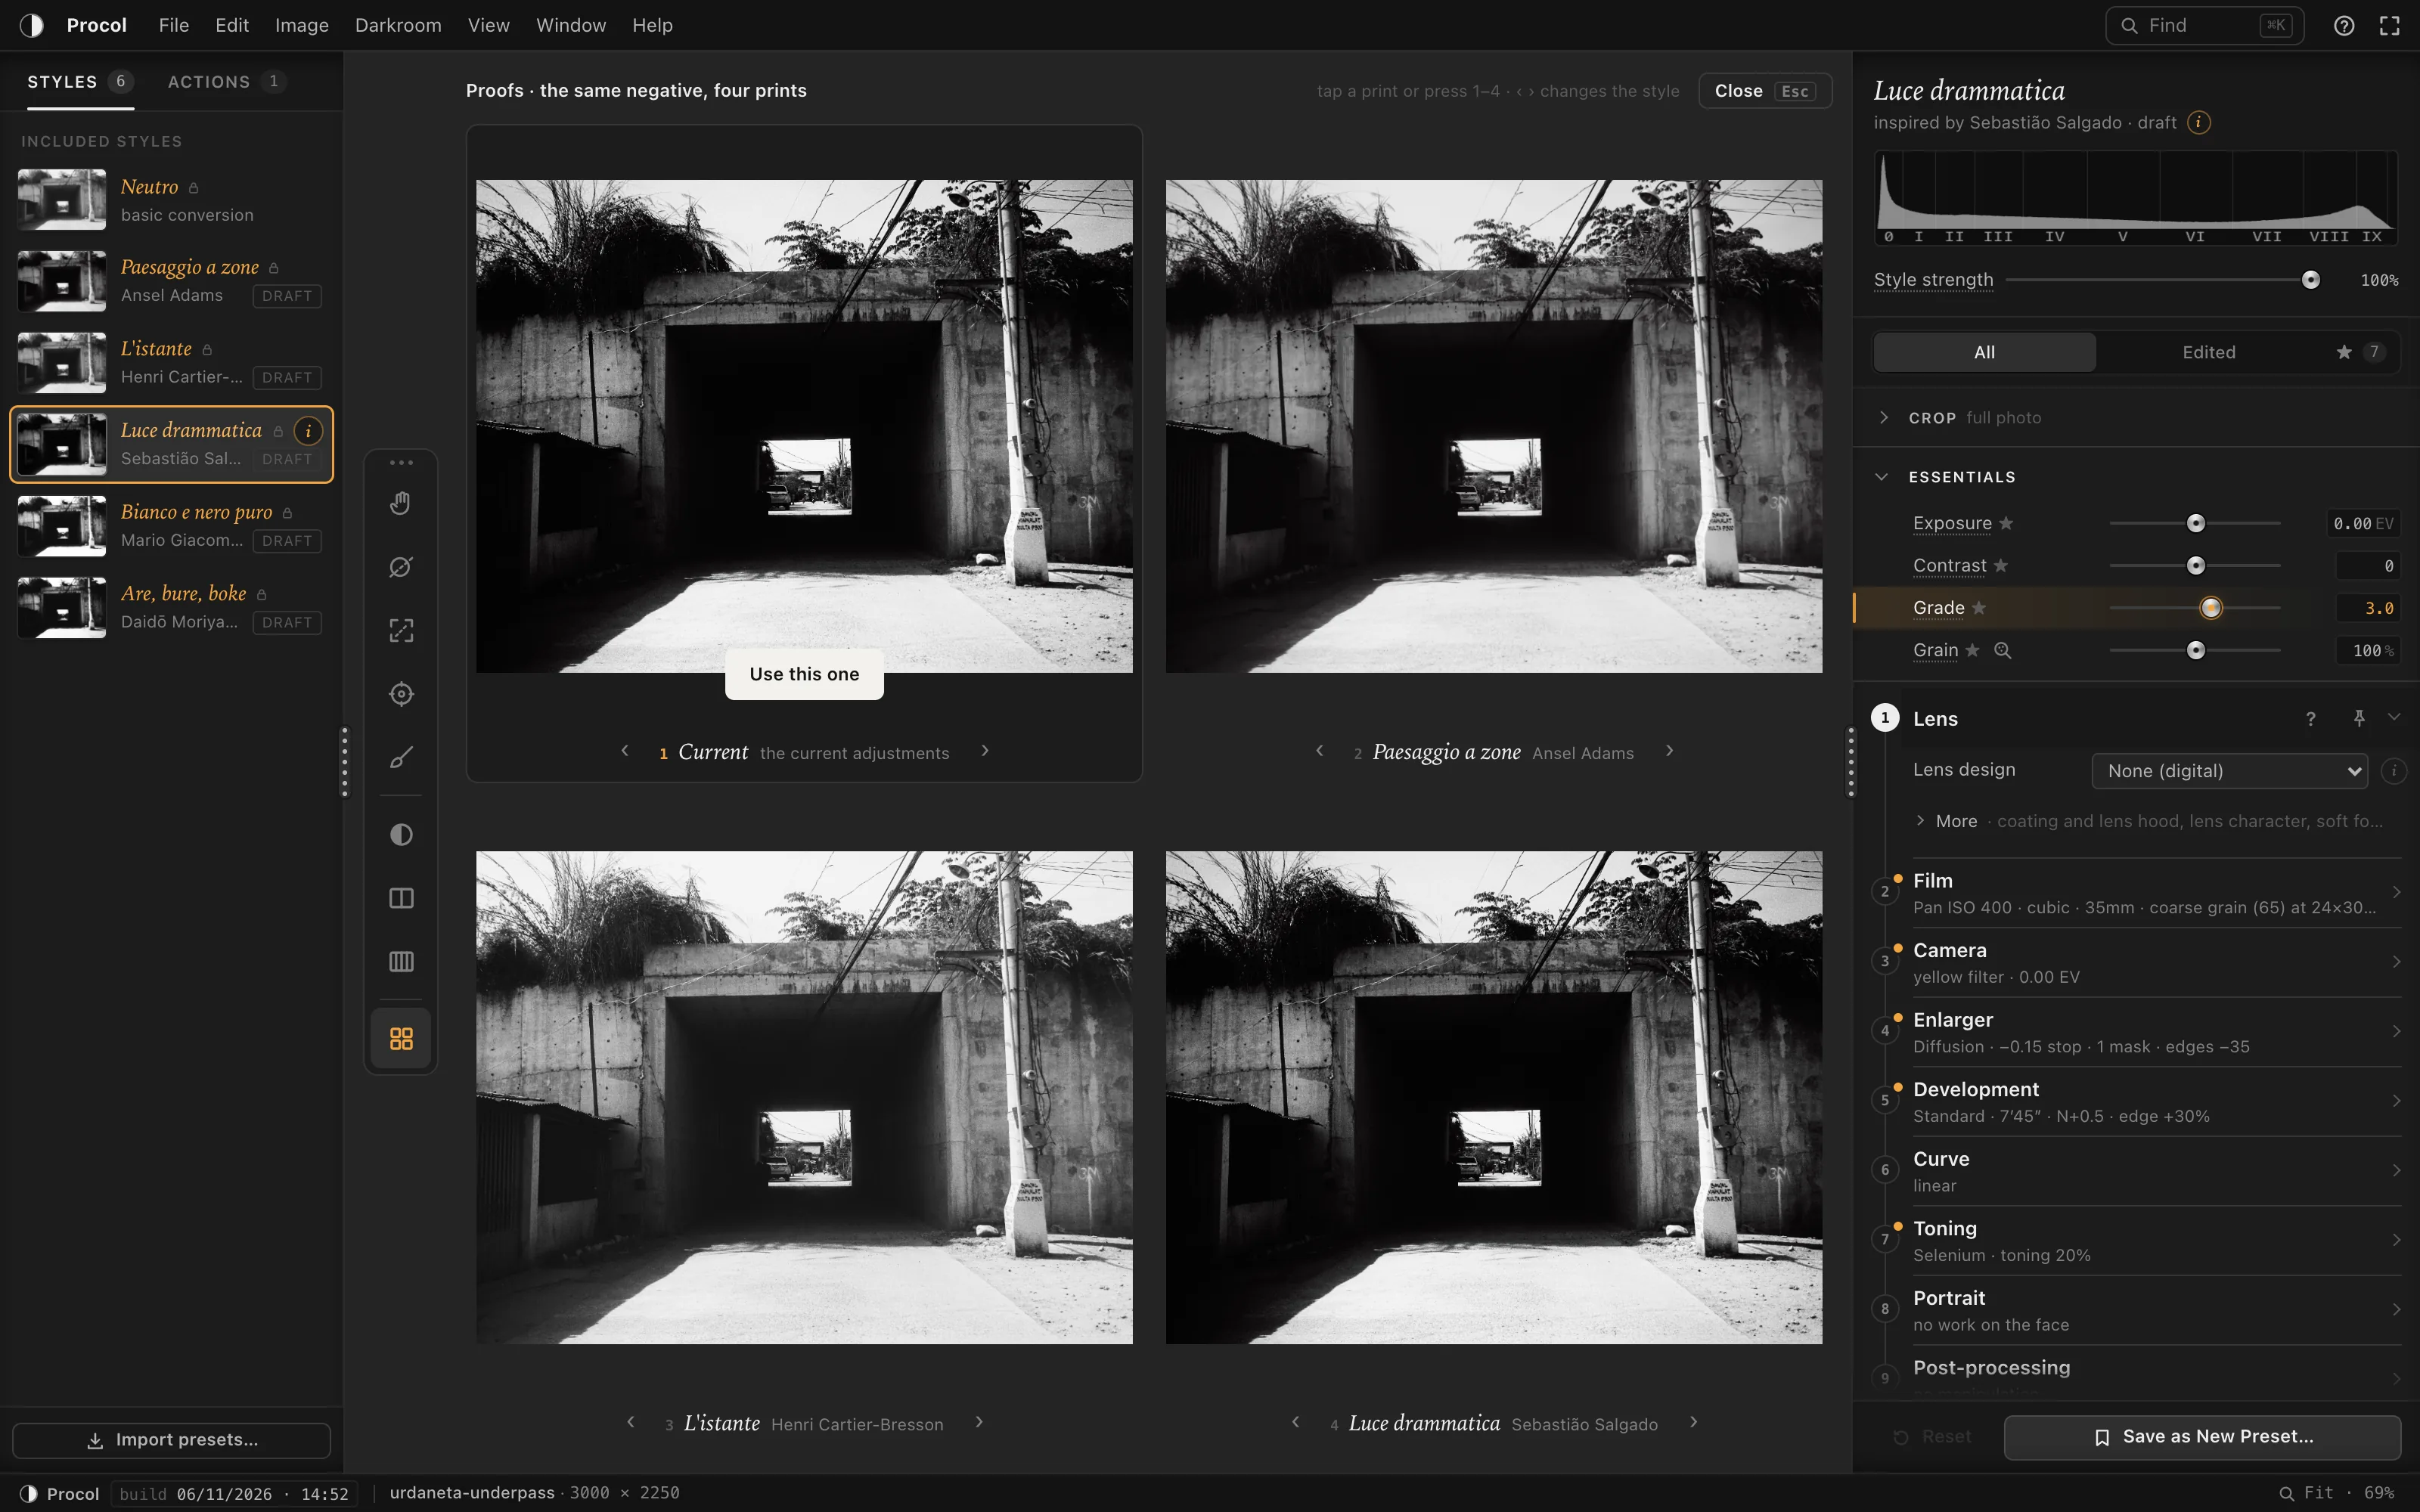
Four prints from the same negative, side by side, so you can choose at your leisure. And the test strip in five bands, like paper exposed step by step under the enlarger.
Everything happens in the browser, on your computer, RAW development included: no image is uploaded anywhere. After the first visit Procol works without a connection too.
Behind every slider there’s study of the darkroom books and a written model. But the result is our own reading: to be looked at with your own eyes, and changed.
Every step stays in the history and can be undone. The recipes you like become presets; sequences of steps become actions to repeat across a whole series.
Licence
Without a licence you use the styles as they are, for as long as you like, and export with a watermark. With a licence you adjust every Stage and your prints come out clean. Choose the length of time you need.
€5
For a series, a project, a real test.
€15
€2.50 a month.
€22
Less than €2 a month.
Secure payment with Stripe · no automatic renewal
Sales open on 1 December 2026. The key arrives by email and is activated in Procol, with no connection needed: how the licence works.
Safelight on
Open a photograph, even a RAW, choose a film, and watch the print come up in the tray.
In the browser, on computer and tablet. Nothing to install.